Leaderboard


Popular Content
Showing content with the highest reputation on 08/09/2022 in all areas
-
Problem with form tapping it I don't find the one size fits all for all materials. Harder metals I might open it up a little more where as with Aluminum or Brass I will hold it almost perfect to the size needed. I have done 12mm x 1.5 mm Rounded Threaded recently and what a nightmare that turned out to be in 7075-T7651. We had to have the Taps EDM drilled so the High Pressure coolant would get to the threads. Without the coolant we could only do two holes before the taps got gummed up with aluminum. Then I have rolled formed Titanium 6al4V #2-56 holes and run 1000 holes with no issue then hit a batch of material no matter what we did they wouldn't thread form and had to be cut tapped. We were working with a customer in the last year having quality issues with a #8-32 thread formed features in HRS. They were not 3 flute drilling or reaming the holes to get a superior finish before form tapping them. They were losing one part in 10 because of this. Once they switched over to a 3 flute drill no more issues. If goes back to there is much art and figuring this stuff out sometimes as there is the science and math of what should work that sometimes doesn't. It takes some good old trail and error to figure it out.2 points
-
Does he have his config set to bring solids in as surfaces? Like this.
 2 points
 -
Well, my guess would be that what you have is a puchased post? If so, the post writer could certainly build that option in for you...Postability or IHS I would guess1 point
-
I don't think it matters because our 2023 plug-in opens the older version on the computers we haven't updated yet1 point
-
Both of these lines: (TOOL - 1 OFFSET - 1) (RGH TURN .03R INSERT - CNMG-432) Are output by the call to: ptoolcomment ltlchg$ #Toolchange, lathe toolchng = one gcode$ = zero copy_x = vequ(x$) pcc_capture #Capture LCC ends, stop output RLCC c_rcc_setup$ #Setup LCC on first 60000 plcc_lead_begin #Save original in sav_xa and shift copy_x for LCC comp. pcom_moveb #Get machine position, set inc. from c1_xh c_mmlt$ #Position multi-tool sub, sets inc. current if G54... ptoolcomment <<<<<<<<<<<<<<<<<<<<<<<<<<<<<<<<<<<<<<<< Both lines, are output from this subroutine (post block) call comment$ Inside 'ptoolcomment' > the output comes from the following Original Block: ptoolcomment #Comment for tool if tool_info = 1, [ tnote = abs(t$) toffnote = tloffno$ strtool$ = ucase(strtool$) stinsert2 = ucase(stinsert2) !spaces$ spaces$ = zero scomm_fx_arg = drs_str(2, tnote) + drs_str(2, toffnote) pcomment_out if posttype$ = two, #Lathe toolpath operation [ if tool_op$ = 64, [scomm_fx_arg = strtool$, pcomment_out] #Drill operation else, [scomm_fx_arg = strtool$ + " " + stinsert + stinsert2, pcomment_out] ] else, [scomm_fx_arg = strtool$, pcomment_out] #Mill toolpath operation spaces$ = prv_spaces$ ] Block, with Comments added for clarity: ptoolcomment #Comment for tool if tool_info = 1, [ tnote = abs(t$) toffnote = tloffno$ strtool$ = ucase(strtool$) stinsert2 = ucase(stinsert2) !spaces$ spaces$ = zero # ************ The two lines below, output the TOOL - 1 and OFFSET - 1 > scomm_fx_arg = drs_str(2, tnote) + drs_str(2, toffnote) pcomment_out # ************ This code block, either outputs "lathe drill" comment, or "lathe insert" comments if posttype$ = two, #Lathe toolpath operation [ if tool_op$ = 64, [scomm_fx_arg = strtool$, pcomment_out] #Drill operation else, [scomm_fx_arg = strtool$ + " " + stinsert + stinsert2, pcomment_out] ] # ************* This "else" block, outputs "Mill Tool Comments" else, [scomm_fx_arg = strtool$, pcomment_out] #Mill toolpath operation spaces$ = prv_spaces$ ] I didn't see originally that this was a Lathe Post. For Lathes (with milling capability), the 'psof$', 'tlchg$', and 'tlchg0$' blocks are expanded, to include separate "milling" and "turning" toolchange blocks: lsof$ > Lathe start-of-file (1st toolchange) ltlchg$ > Lathe actual tool change ltlchg0$ > Lathe Null Tool change (tool number repeats) msof$ > Mill start-of-file (1st toolchange) mtlchg$ > Mill actual tool change mtlchg0$ > Mill Null Tool change (tool number repeats)1 point
-
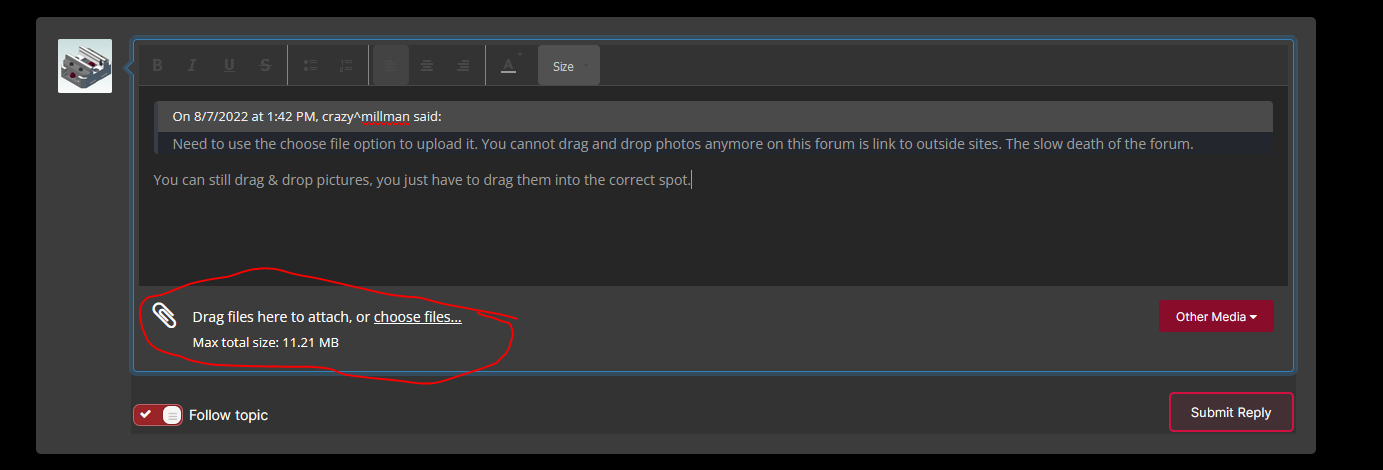
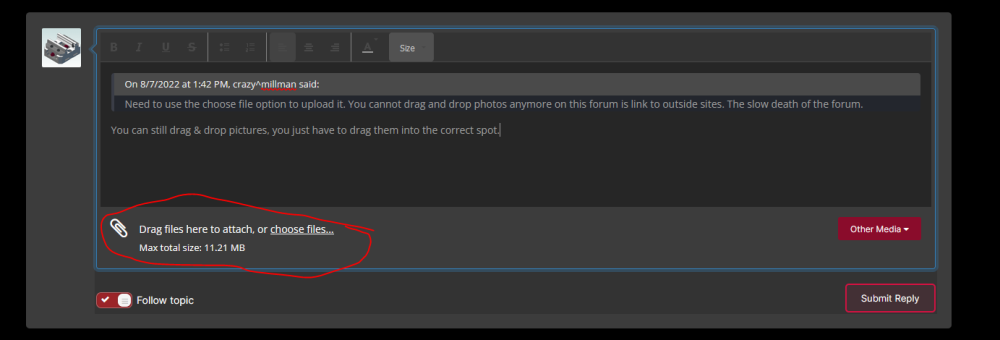
You can still drag & drop pictures, you just have to drag them into the correct spot.
 1 point
 -
That should be where you want to add it. Basically > psof$ = "the 1st tool change operation" in the Post ptlchg$ = "the next 'actual' tool change operation ptlchg0$ = "null tool change, tool number repeats"1 point
-
Create an account at Mastercam.com then download the Generic Haas VF-TR_Series 5X Mill post from the Tech Exchange It's free to licensed Mastercam users. I'm surprised your Mastercam dealer doesn't know about it1 point
-
i cant see that part that well either but for parts that just have a small feature to 3d mill i have been loving the Waterline lately since you can do some pretty cool stuff with the linking. I dont use this strategy for an entire mold application but for small feeatures that are just on one side of the component its pretty sweet. Basically you can turn a waterline into a very efficent Climb only toolpath by making a few changes to the default settings. I find that Climb milling only on some 3d finishing applications gives me the best finish and also its great for those harder materials so you can do the following easily to make an efficent climb only waterlind. After setting up a waterline, set the gap setting very small (on cut paramaters page). By doing this you are telling mastercam to produce a lot of retracts since anytime mastercam needs to transition greater than that gap distance it will want to use your linking retract settings. With that being said then i turn those retracts to a feed rate (higher feed rate since this is just a transition, I chose 250ipm for this sample. To turn retracts to a nice feed its on the linking parameters page of that water line and you can change the retract to a minimum distance with a feed rate. Lastly I needed a nice arc size since I really didn't want a lift but just a nice backfeedrate so typically I just make the entry arc the same as my tool Dia. I know that's long winded, but with all that being said I have a toolpath like what is shown in the image below, climbing from bottom to top of the 3d feature and never retracting. and the best part is when the tool is off the part its using the Higher feed rate that I specified. I think this is a pretty slick trick and I have used it on quite a lot of my parts and its very efficient. Video: https://www.dropbox.com/s/6ljmyeuba1748vv/Waterline-Climbonly-noretract.mp4?dl=0 sample part from vid: https://www.dropbox.com/s/fucezcn66x8xo5y/T.mcam?dl=01 point