


colton_m
-
Posts
11 -
Joined
-
Last visited
Content Type
Profiles
Forums
Downloads
Store
eMastercam Wiki
Blogs
Gallery
Events
Posts posted by colton_m
-
-
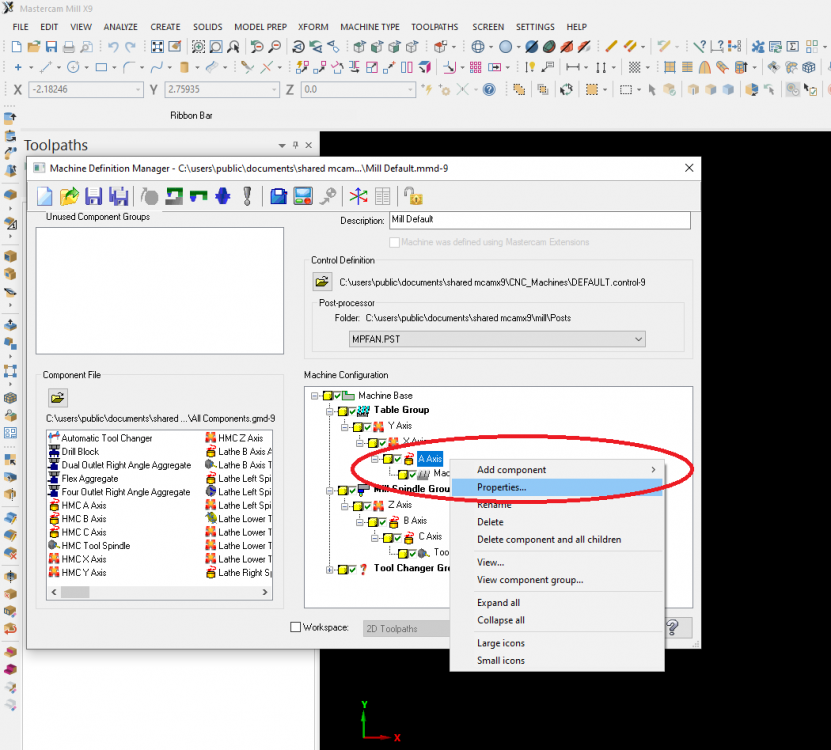
I have encountered a strange issue this morning where Mastercam 2018 crashes when trying to open the machine definition manager.
Has anyone encountered this his before? Any ideas on what might be the culprit?
A fresh install did not resolve the issue.
Thanks!
-
On 7/8/2021 at 6:11 AM, craney said:
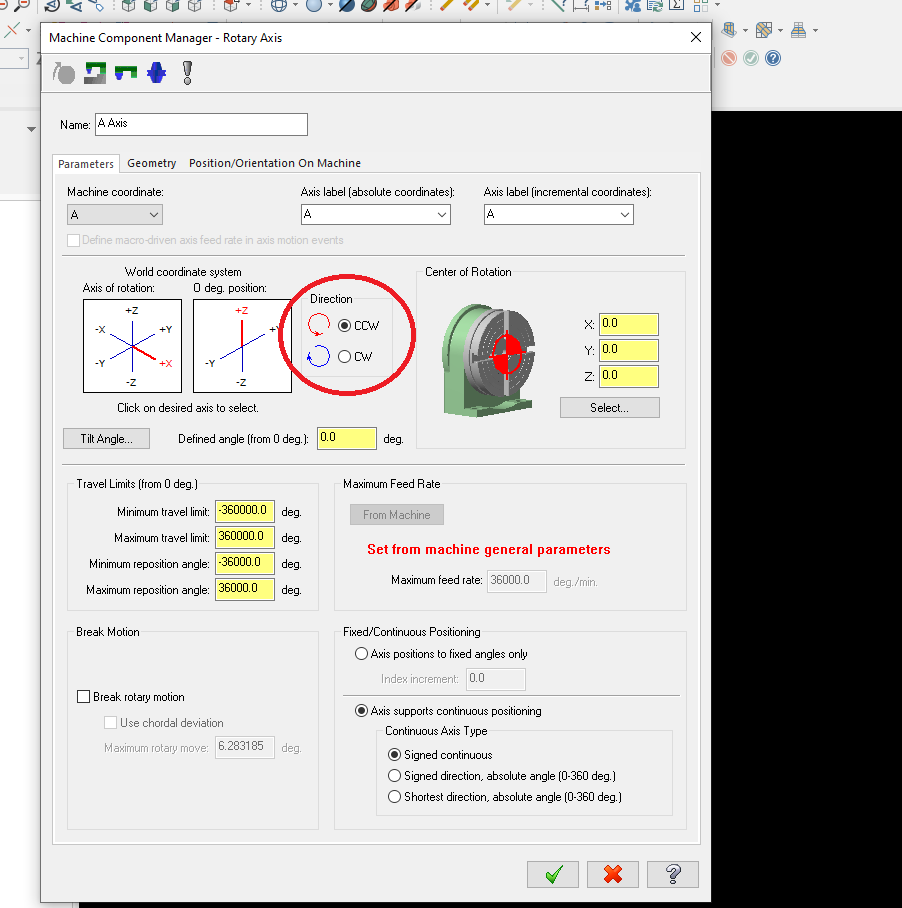
Hello to all. I am drilling pipe and shafts in an older Haas VF4 with a Haas HRT210 rotary head. If I am looking from the tail end and program it to drill a hole at 10 O'clock it drills it at 2 O'clock instead. Can anyone tell me why it is doing this and is there something i can do to fix it other than a custom post?
Thank you all,
MIke.
On 7/8/2021 at 8:34 AM, altamontmfg said:YOU CAN FLIP THE ROTARY DIRECTION IN THE MACHINE DEFINITION
altamontmfg is correct, please see below:

-
 2
2
-
-
Hello,
Today I decided to try and define some NPT threadmills using the "threadmill" option in Mastercam 2018.
Previously I have defined my NPT threadmills as a "taper mill". This allowed me to define the tool in the exact shape as real life. I have been doing it this way for about two years with great success, everything makes sense and the code is good.
When I tried to define the same tool as an actual "threadmill" in Mastercam things started getting funny. I was able to define the tool to match exactly so everything looked good, When I toggle the toolpath display on I would expect both the old and new toolpaths to be identical. In reality when I use the tool defined as an actual "threadmill" the toolpath cuts undersize, by a lot.
If anyone could have a look and provide some suggestions that would be great.
- Colton
-
Hello,
I am setting up a lathe tool library, hoping someone can help with a problem I have encountered:
I am trying to define a Seco 35 degree turning tool (SVLBR-16-3).
The problem I encounter is when I define the holder. Under style I want to select > L (-5 deg. side clr.) However when I click this, the holder geometry variables update so I can't input a back clearance angle "E".
If I pick L (-3 deg. side clr.) I can input the correct back clearance angle to match my holder, but then the front clearance is wrong.
I am familiar with creating custom tools and can use that to get what I want, however it would be nice to skip drawing every single tool. I use four different radius inserts in this holder and would like to avoid drawing so many custom tools. This same problem goes for some boring bars I have.
Any suggestions would be appreciated.
Thanks!
-
Hoping someone with more knowledge of solids in Mastercam 2017 / 2018 can help.
I have attached a file where my solid model appears to have some redundant faces on the top and bottom. I have tried using the model prep optimization and simplify solid functions but it doesn't find any simplifications.
If anyone has a fix for this, or a better way to draw this solid from scratch so I don't get the problem faces that would be great,
Thanks,
Colton
-
Hi everyone,
I was wondering if there is a way to get mastercam to recognize regions inside a pocket where material has already been removed?
I have attached a file to give a better idea of what I'm after.
How should I chain this pocket so it will recognize the material inside the red lines is already gone?
Dynamic core mill works great for scenarios like this on the exterior of parts, but I'm stumped on the internal stuff.
Thanks.
-
Ive never used the "hybrid" toolpath. Play around with shallow cuts.
The steep / shallow tab seems to only be used for setting depth limits.
Under cut parameters there are 3 boxes under "step". I made some changes in there are was able to get the stepover on the floors to look a lot better.
It seems that the machining times are a lot quicker using hybrid because there is no overlap between steep and shallow like I had when using two finishing paths.
Hybrid - 118mins
Finish contour and then finish shallow - 152mins
Any recommendations on finishing feed rates?
-
At 8000rpms I wouldn't run more than 150ipm, but if the manufacturer says your FPT is good then go for it. Ive ran 12000rpms at 250ipm at 1.25 DOC. The ER25 might be kinda small, try an ER32 or a solid holder.
Your finish tool path looks ok to me, but theres more than one way to skin cat.
170ipm @ 8000rpm and 250ipm @ 12000rpm both give the same feed per tooth at a .100" step over, so I have high hopes for that.
Do you know if there's a way to add shallow cuts to the Hybrid finishing toolpath? It seems to be leaving a large step over in the bottom of the cavity and on the fillets at the top of the pocket.
-
Use a flat endmill for roughing, no ball. And on aluminum you can easely go with .100 stepover
God I miss making molds!
Thanks for the comment.
I updated the file to use a 1/2" 3F .06" CR endmill on the roughing OP.
Do you think an ER25 collet would be sufficient for these speeds:
.006" FPT at a .100" step over would be 170ipm
1000sfm, 1/2" tool = 8000rpm
Depth of cut is at .875" right now
Might consider getting a 1/2" sleeve for my 3/4" hydraulic tool holder.
-
Hello,
I'm new to surfacing and would like to get some suggestions from those with more experience.
I have a cavity I would like to machine, about 5" wide, 3.5" deep with drafted walls and large fillets in the corners.
Mastercam: X7
Machine: 2015 Haas VF3-SS (has HSM turned on and 12,000 spindle)
Material: 6061 Aluminum
Available Tools:
- 1/2", 3/8", 1/4" ball or bull endmills.
- 1" or .75" sandvik 390 cutters.
I have attached a sample file with the roughing and two different finishing strategies I came up with, Could anyone have a look and make some suggestions? The finish needs to be very nice, so I'm not 100% sure that my step-down, speeds-feeds and filtering settings will give me what I need.
Thanks!

Machine definition manager crashes 2018
in Industrial Forum
Posted
Just wanted to follow this up with with a potential solution for others.
It turns out this was caused by the display driver somehow, once I re-installed the driver the problem is gone.