


Jcncprogrammer
-
Posts
33 -
Joined
-
Last visited
Content Type
Profiles
Forums
Downloads
Store
eMastercam Wiki
Blogs
Gallery
Events
Posts posted by Jcncprogrammer
-
-
Thanks alot! So I would assume G54 A axis would be #5204?
-
Im doing some work with a shop that has a few mazak vertical mills. A Nexus 700D/40 II, and a VCN-530C. Does anyone have a list of the variables that are assigned to the work offsets? Do both these machines utilize the same designated macro variables? thanks
-
Im new to the Y axis lathe and new to live tooling on a lathe as well. Never had these issues with master cam on 2 axis lathes and 4 axis mills which is what I do most of the time.
-
Yes it was a plane selection issue. I set the lathe to top plane, and rotated the slot 180degrees and set the plane for milling to bottom, and it posted good code...I am using the generic haas SL 4x lathe post. Thank you!
-
Im trying to program a simple pocket and contour on a haas st20y, it is a radial pocket. It looks good on the screen (mc 2017) but when i post it it comes in to cut but doesn't post all the geometry, just posts the R corners with no x or y moves in between. heres a pic
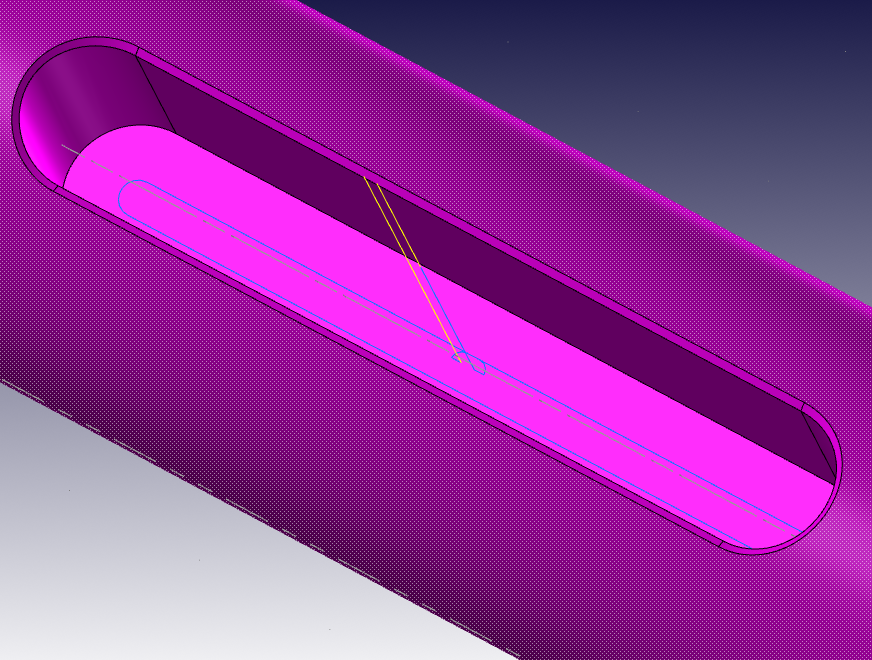
and heres the code its kicking out..
G20
(TOOL - 7 OFFSET - 7)
(0.1875 FLAT ENDMILL)
(FINISH POCKET)
T0707
M154
M8
G97 P4000 M133
G98
G17
G00 G54 Z10. C90.
X20.
Y10.
G03 R.0188 F25.
R.0318
R.0318
R.0318
R.0318
R.0188
M9
M155
M135
G00 G53 Y0.
G53 X0.
G53 Z0.
M30
%
What am i doing wrong?? Thank you
-
Thank you Ron, your awesome!
-
Im new to mastercam c axis programming. Im working with a shop that has a haas st20y 4 axis lathe. Im doing a simple 3/4 hex program in mastercam 2017. My issue is before i add the milling toolpaths to the lathe, the turning tools come up in the correct orientation on verify simulation, but when i added the mill contour to cut with the side of the end mill (could not find any c axis cuts that would do what i wanted) and then try to do a verify simulation my lathe tools come in at a crazy orientation. When i suppress all the milling and try to run the sim, everythings good, but when i try to run it all it screws up the orientation of the turning tools in the verify simulation, i think it has something to do with the planes. Any help would be appreciated. thank you. heres the file if you want to look at it
-
ok, cmillman. I will start doing that to make my life easier.Thanks!
-
hmm, here is the way i did it, im guessing this wont work, see attached..
-
Ok here is a simple part that has 1/2 holes drilled in 5 sides machined from a 2x2" aluminum billet machined down to a 1.75"x1.75" block. Thank you jlw for being able to do this for me.
-
Cmillman, i am processing your info..lol jlw, let me draw up a simple part on solidworks and i will get it to you. Thanks to both you guys for being patient with me.
-
If i was milling an existing 3" square block with 1/2 holes on each face the 5 axis machine could access, and each of these holes are on center of the block. and the block was clamped .05" off center in y and .1" off center in x on the table. and my mastercam program is all programmed true to the part and x0y0 is center and z0 is top of part. Will G68.2 place all the holes on center of part? Does it compensate automatically when i tilt the part up at A90.? How does it get the data it needs to shift axis to compensate for the part tilting and being off center?
-
Were still having troubles getting things on center, When G68.2 flips things around and x becomes y, does the machine know how to adjust comp error with g54.4 for updated axis, or does it shift the wrong axis. this is sorta what it looks like is happening??? Some have told me not to use both at same time, and some have said its okay, and some have told me that G68.2 should be all i need?
-
I have to cancel G54.4 before the rotary movement, and start it up right after. The machine gives me an illegal command in g54.4 if g54.4 p1 is activated while doing a rotary movement....
-
Right now to make parts, im just having to go in and modify the X value from X0 to x.007 and its working, just wished i didnt have to do that... somethings got to be a miss right?
-
I removed S2 at the machine, and it is changing the G54.4 P1 offset. I switched parts in and out and let it run till it hit a G54.4 P1 and went and looked at the work pos error page. It is changing.
G0 G17 G40 G80 G90 G20
G28 G91 Z0
G28 G91 X0 Y0 C0 A0
T01 T24 M06
G00 G90 G55 X0 Y0 A0 C0
G43 G90 H1 Z3.

G65 P9810 Z2.5
G01 X-.5 F25.
G65 P9812 Y15.6 Z-1.75 (Y YEB)
#5812 = #141 (write G54.4 Y error)
X0 Y0
G65 P9812 X1.75 Z-1.1 (X WEB)
#5811= #140 (write G54.4 X error)
G05 P0
G64
G20

G05 P0
G64
G54.4 P0
G20
-
11 minutes ago, Leon82 said:
After you write the shift, run the probe cycles again but don't write anything to see if it is correct
So run it with the macro logic to write G54.4 P1 and then run it again with out the macro logic??? G54.4 p1 wont change unless its updated??
-
7 minutes ago, C^Millman said:
I am confused you are adjusting the G55 or P1? I see the S@ on your probing to adjust the G55, but I don't see the logic to update the P1. What are you doing to make the adjustment? Are you adjusting the workoffset or are you adjusting the compensation for error offset? To me you are not going about the process correctly.
I have g55 set to COR, and the macro code below is updating the G54.4 P1, omit the S I accidently left it, but it was not in the program on the machine, i removed it at the control. but still off center .007 in x...My work offset error page is updating when i probe the part.
#5812 = #141 (write G54.4 Y error) (this code is updating the G54.4 P1If im doing something wrong, let me know..
-
Sorry OMIT the S2 in the probe cycle...i forgot to edit them out on my post
-
I have some code that i would like you guys to look at.. here im probing X and Y on an existing part that i have to put a few holes in
on center in x. but the holes are .007 off..whats going on??

G0 G17 G40 G80 G90 G20
G28 G91 Z0
G28 G91 X0 Y0 C0 A0
T01 T24 M06
G00 G90 G55 X0 Y0 A0 C0
G43 G90 H1 Z3.

G65 P9810 Z2.5
G01 X-.5 F25.
G65 P9812 Y15.6 Z-1.75 S2 (Y YEB)
#5812 = #141 (write G54.4 Y error)
X0 Y0
G65 P9812 X1.75 Z-1.1 S2 (X WEB)
#5811= #140 (write G54.4 X error)
G05 P0
G64
G20

G05 P0
G64
G54.4 P0
G20
then later i do this drill cycle and its way off .007 off center off the part?? Im not liking this at all..probe is calibrated, part is indicated....never have this problem with the haas...
N4 (OPERATION  4)
G0 G17 G40 G80 G90 G94 G98
(P STANDARD DRILL - 0.322)
T37 T33 M6
G55
G54.4 P1
G0 A0. C0.
G68.2 P1 X0. Y0. Z0. I0. J0. K0.
G53.1 P2
G0 X0. Y4.8014
S1500 M03
G43 H37 Z3.
M08
Z.05
G83 G98 Z-.6 R.05 Q.05 F15.
Y6.3014
G80
G0 Z.05
G94
Z3.
M09
M05
G69
G54.4 P0
G49
G0 G28 G91 Z0.
G90
G90
M01
Any Ideas???
-
Im not finding much info for how to use g68.2..my post always kicks out g68.2 but it always has zeros for x and y..how do i get it to compensate for COR...
-
My post kicks out the G68.2 on every tool?? Is there a box i can check to turn it off??
-
Can i just erase the g68.2 until i can get the post changed??
-
Thanks! It seems to be working now.
Mazak Work offset macro variables
in Industrial Forum
Posted
Looks like Haas starts just 20 after.
Haas G54 X is #5221