winywohlwend
-
Posts
10 -
Joined
-
Last visited
Content Type
Profiles
Forums
Downloads
Store
eMastercam Wiki
Blogs
Gallery
Events
Everything posted by winywohlwend
-
@Tim Johnson Thank you very much! I know that but I wanted to know if there's an easier way to do. Winy @byte Thank you very much for your help. I will deal with it.
-
is there a video somewhere which shows how that works?
-
Äh.....Sorry, I am a newbie and I don't understand what exactly you mean by "porject"??
-
As I wrote in my first post I use the 3D contour toolpath but there is no option for zigzag.....
-
pocket doesn't work..I guess because the endmill's diameter is the same as the slot/pocket's width....
-
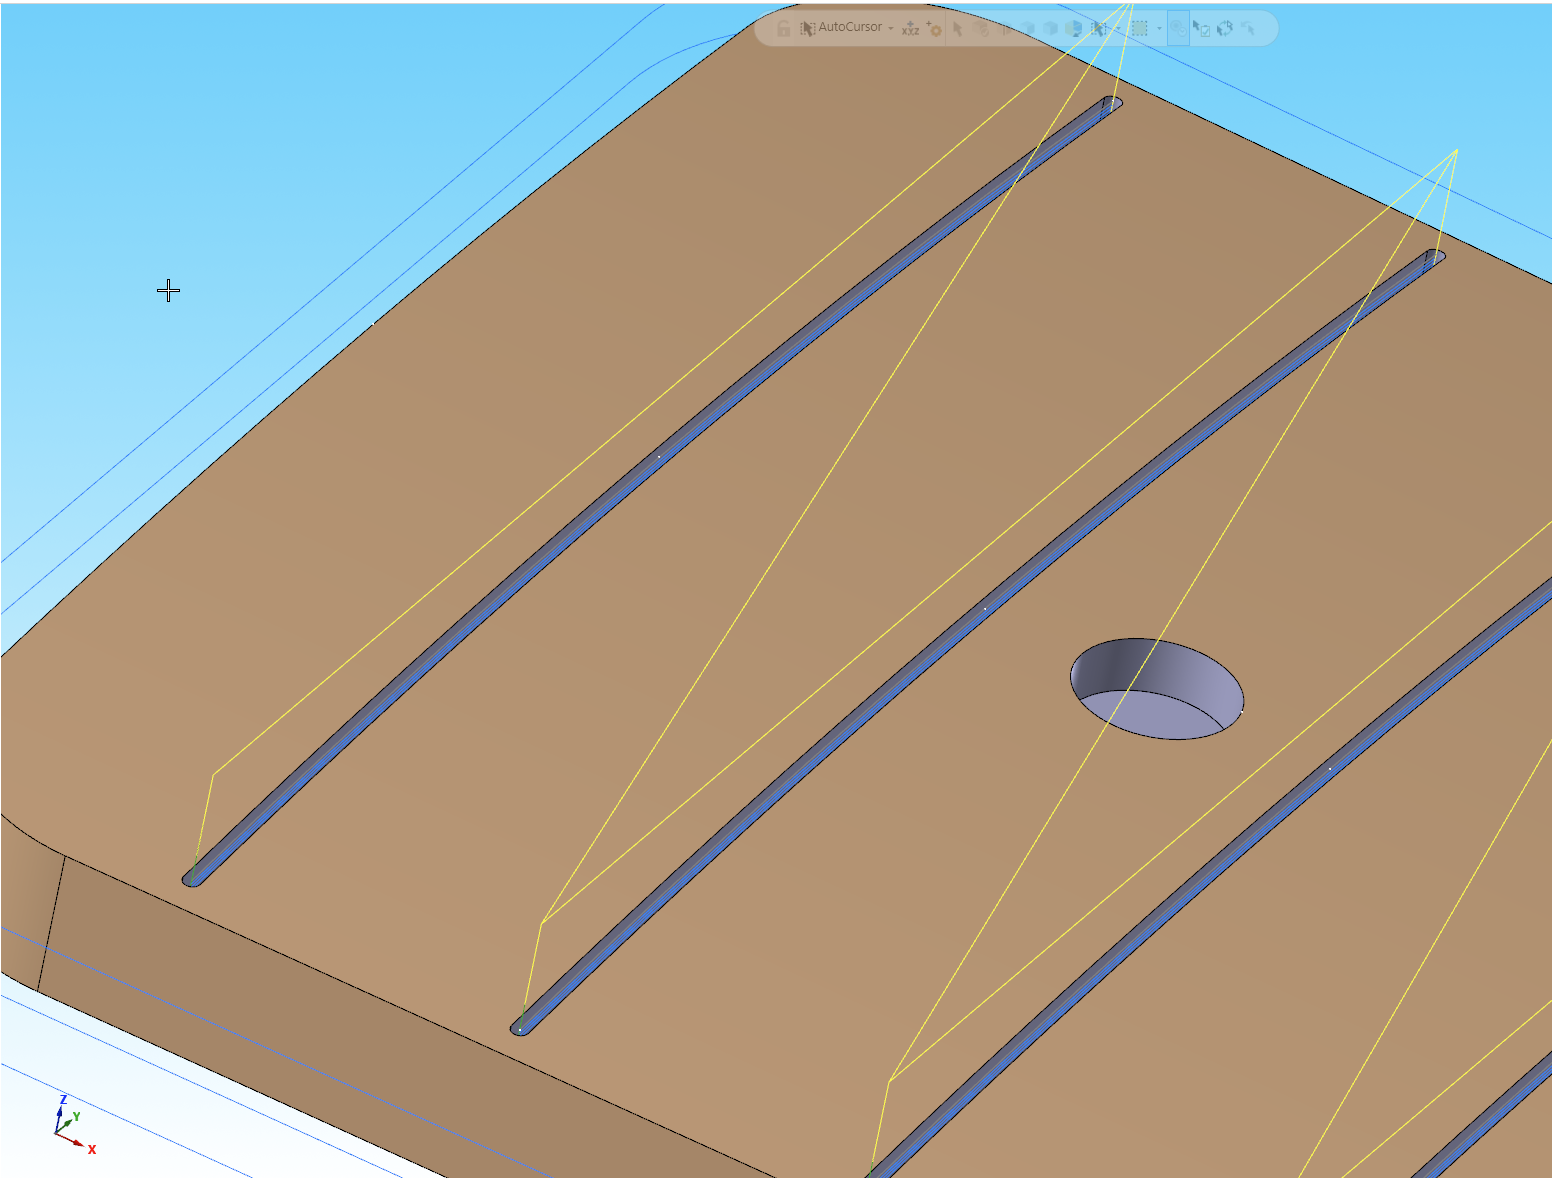
Hello to all Mastercam masters I'm working on the fretslots for a fretboard of an electric guitar. The slots are closed 3D slots with a width of 0.56mm. For that I have a 0.56mm flat endmill. I chose the 3D contour toolpath which actually works very well. The only thing is that I can't get a zigzag motion. The endmill goes from start to end retracts and goes back to start. It's not a big deal but it would be great if it would work with zigzag. Can someone give me advice on how to do this? I would greatly appreciate any help. Thank you very much!! Winy Wohlwend


-
 Thanks for the quick reply! AHHH!!!! Do you mean this here? Of course, that means that I have to mill the outline first! AHarrison1 - Thank you so much for your quick help!! Winy Wohlwend
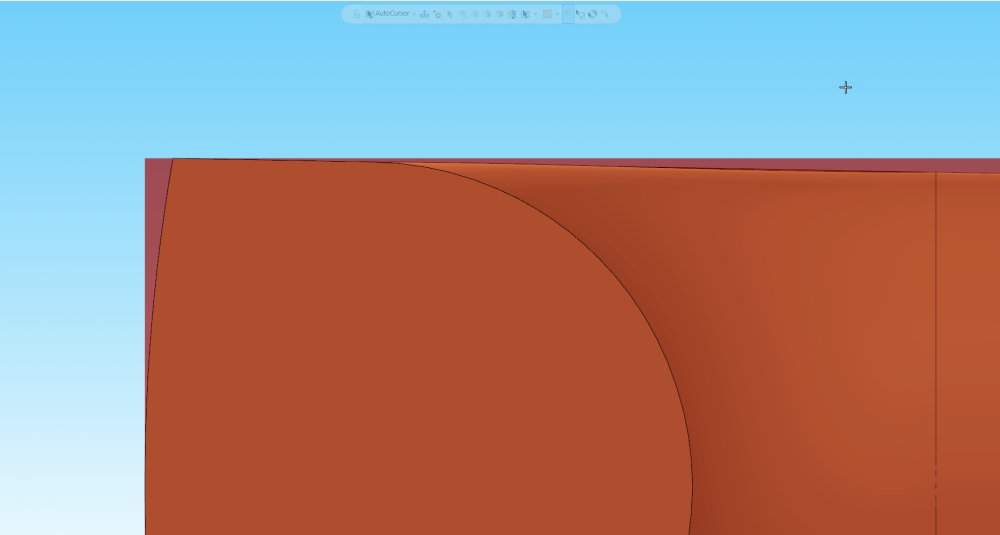
-
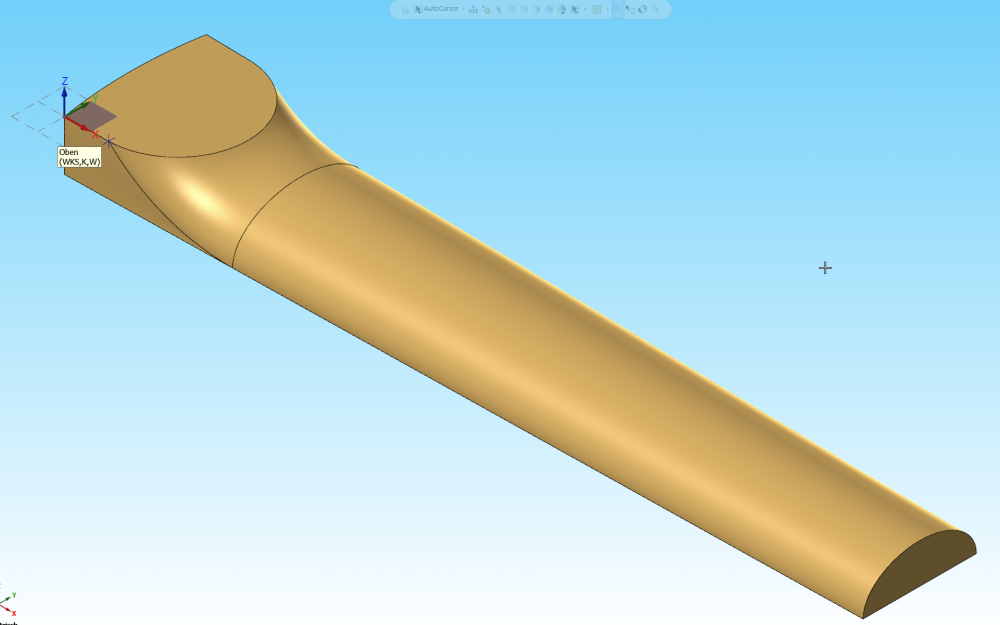
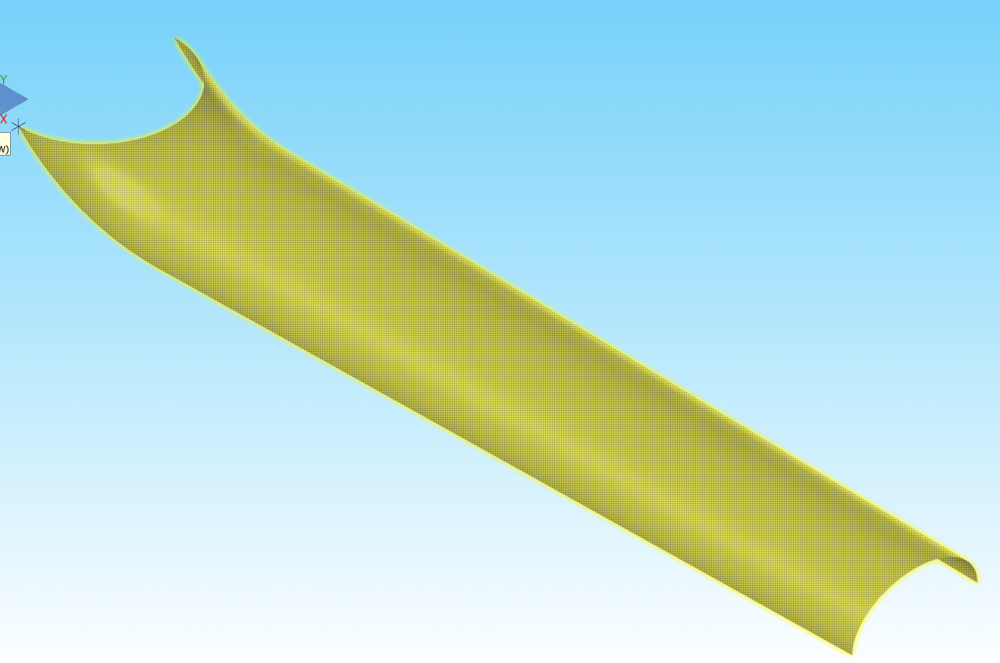
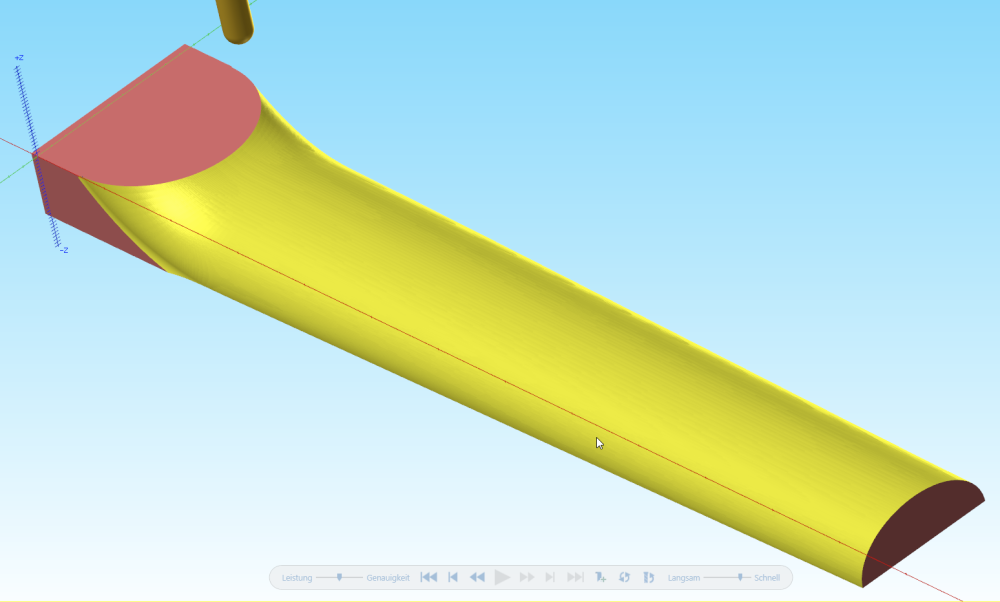
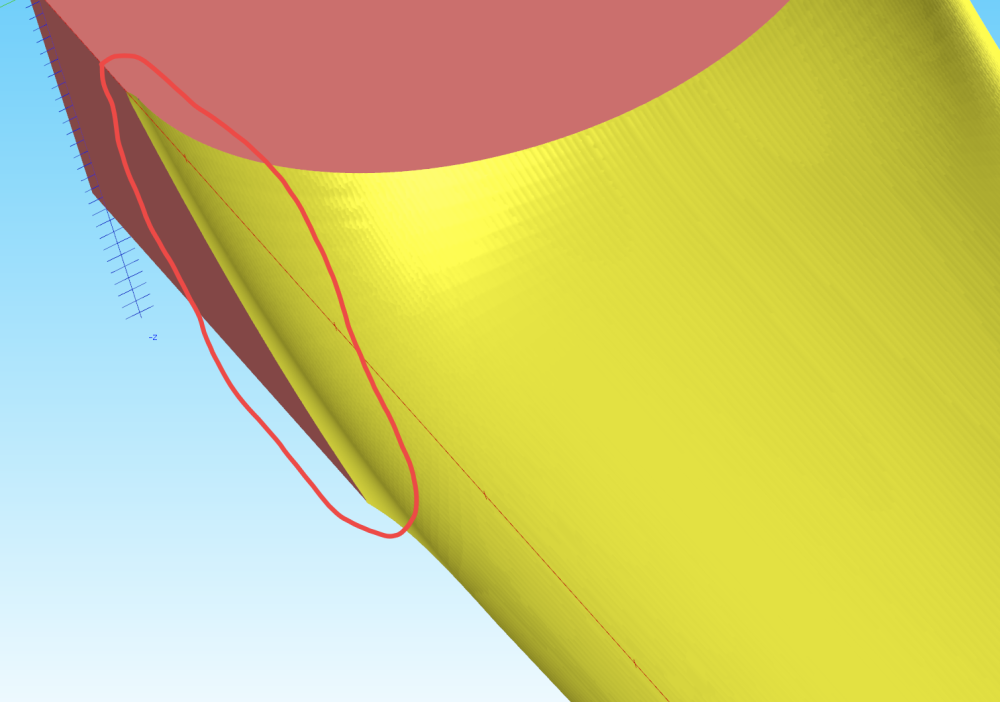
Hello to all Mastercam masters I'm working on a test piece for a guitar neck profile. I chose the Flowline toolpath which actually works very well. (machining surfaces) (Simulation) The only thing is that I can't get a smooth transition to the sides. Can someone give me advice on how to do this? I would greatly appreciate any help. Thank you very much!! Winy Wohlwend
-
Hello everyone First of all, THANK YOU VERY MUCH for your quick replies, I appreciate that really very much, absolutely great!! You guys were right, it was the "Check your stock to leave on floors and walls settings in the Model Geometry section" thing. There was 1mm on both, floors and walls. Thad: THX for the tipp with the Blend toolpath, I will try that out. I think I have come back to you guys with other issues. Winy Wohlwend
-
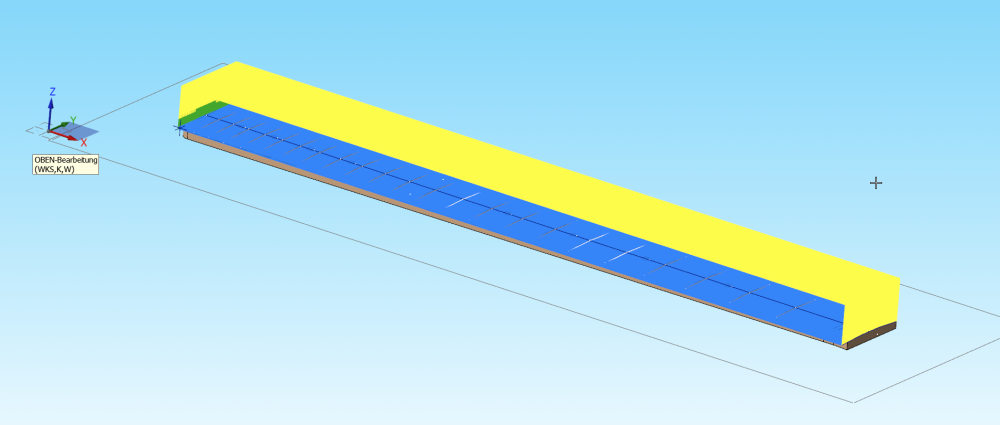
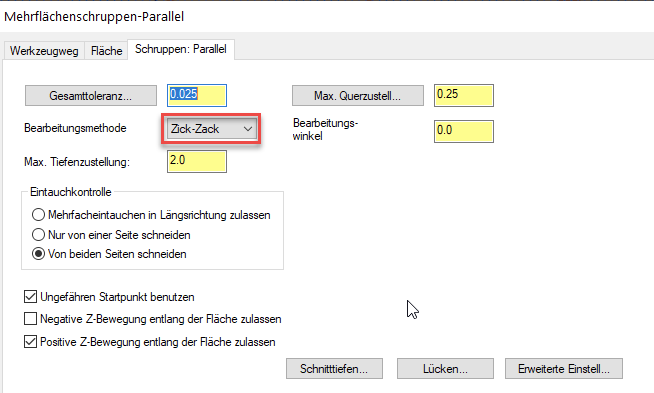
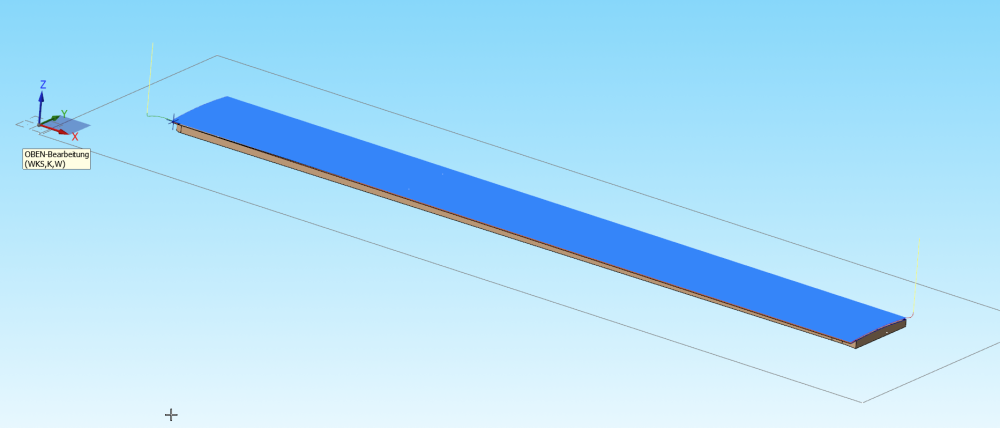
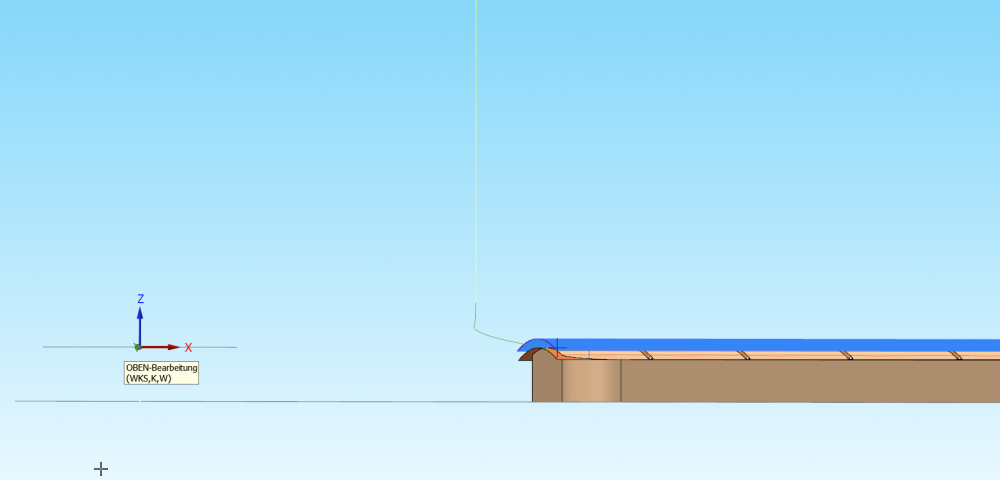
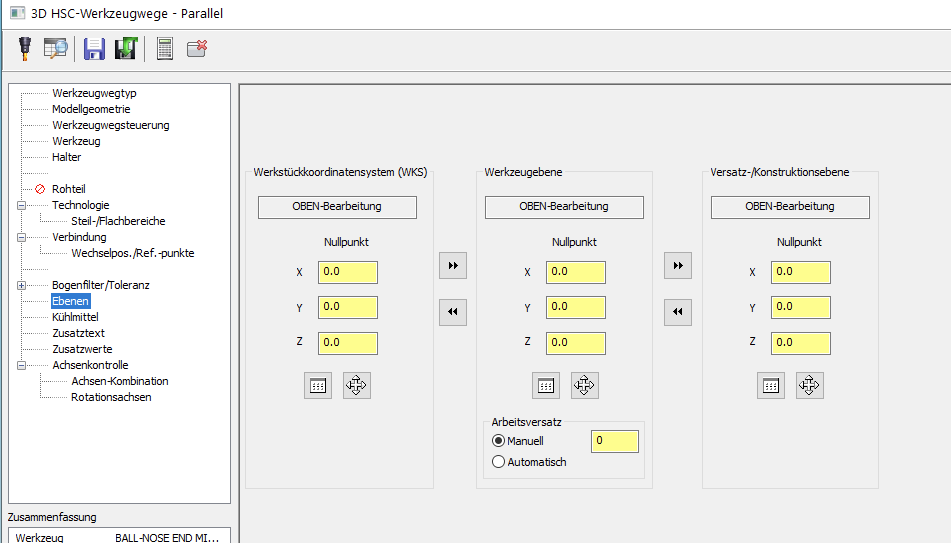
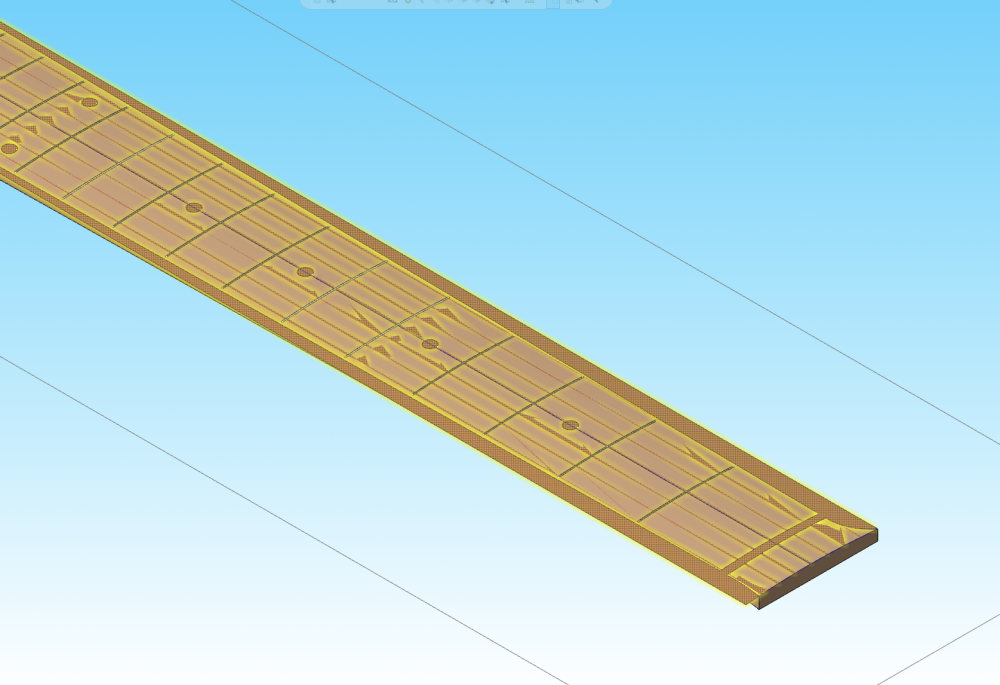
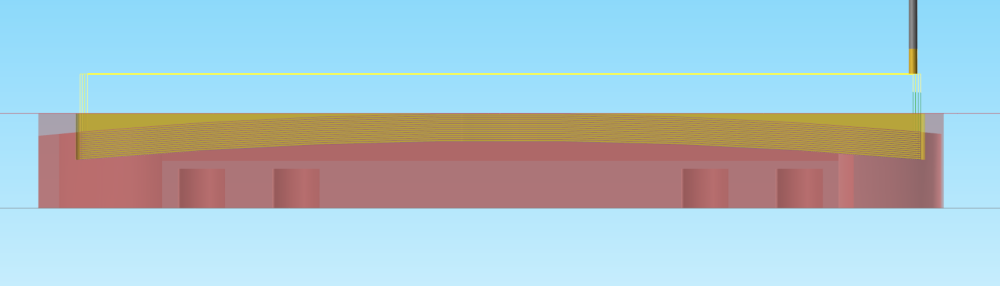
Hello everyone I'm a luthier from Switzerland and I'm trying to use Mastercam Home Learning Edition. Speak, I'am a real newbie. Now I would like to mill the fretboard's radius. Therefore I made a surface with the exact radius which covers the entire fretboard. First I tried with the 3D Parallel rouging toolpath but unfortunately I couldn't manage to get a zickzack motion. Although I configured the option zickzack it mills from left to right and then Z lifts up and goes back to start and so on. It makes no difference if it is configured or not. (the frame around the fretboard is the clamping fixture) Then I tried with the 3D Parallel finishing toolpath. Actually it would work perfectly but the problem is that the z axis is about 1mm too high and I'm not able to find out why..... I configured a plane with WCS, C and T on the fretboard's surface. I also used the same plane for the toolpath above (3D parallel roughing toolpath) and there was no problem with the Z height. I also configured the plane in the toolpath configuration Does anyone have an idea where the problem is? I would be very grateful for any help. Winy Wohlwend