MSlanker
-
Posts
15 -
Joined
-
Last visited
MSlanker's Achievements
")


-
I got it now, thanks for the advice. Still learning the ins and outs of this toolpath.
-
How do I make the boundary bigger?
-
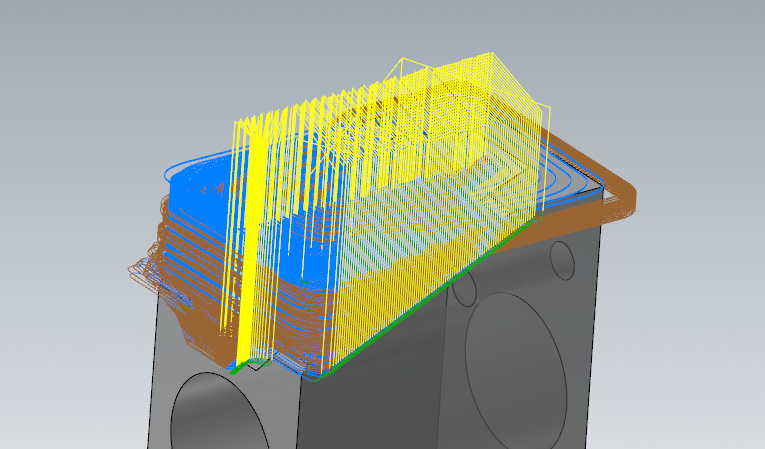
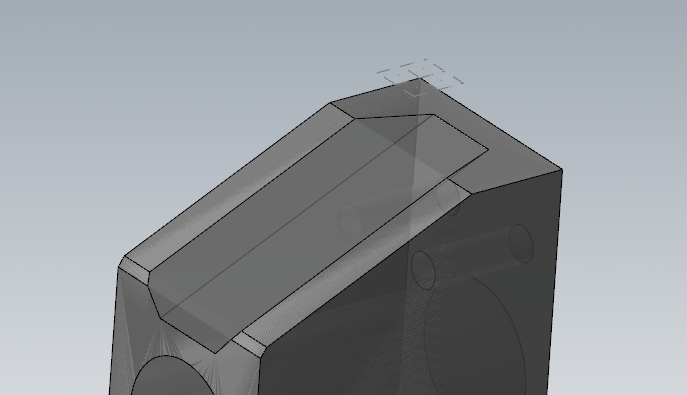
I'm trying to just rough out the angled slot on this part but optirough is acting like there's stock above it. The perimeter of this part is going to be done when I run this toolpath, I have my stock model made to reflect that. Only way I got it to just cut the slot was by turning rest machining on but since that locks it to stay inside it wouldn't cut the bottom of the slot leaving a chunk of stock. Any advice on how to get this working is appreciated. Unfortunately I'm unable to share the file.

-
We're using a 2" facemill taking .100" doc, If I used opti rough toward final depth there would be a thin sheet of material and I'm trying to eliminate that. Unless there's a way to do that with opti rough.
-
I tried changing it from by region to by depth and it changed nothing.
-
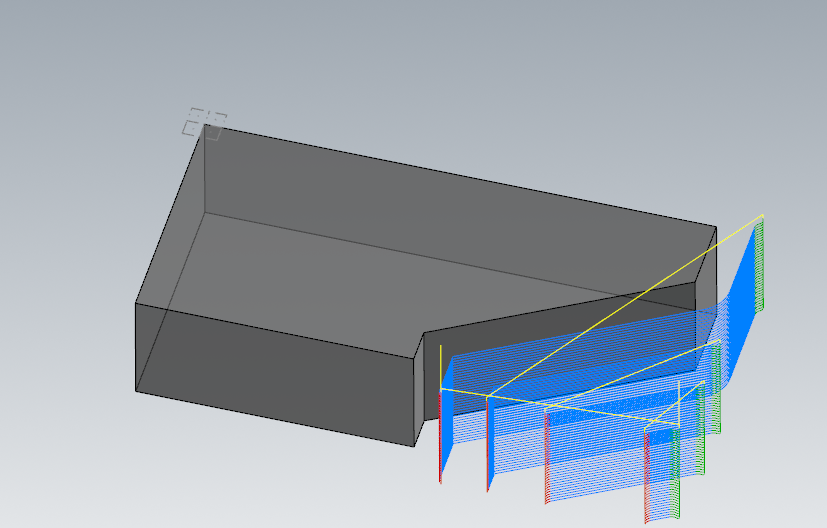
Is there any way I can get this toolpath to cut all the way down to final depth then move in and repeat until finished? I'm using 2D Area Mill
-
That was extremely helpful, thank you!
-
On your 3rd waterline toolpath what did you select as your machining geometry? It won't show me what's selected Edit: I see it's a surface now, how did you make the surface?
-
I found the simplify spline command last night but still couldn’t get swept to work. I’ll look at the examples you guys made tonight… I found a YouTube video last night on turning multiple surfaces into one so I can use a 3D path so I’ll be trying that out tonight as well. I’ve been watching a lot of cam instructor on YouTube, do you guys know of any other vids on YouTube that would be helpful for some more difficult 2D tool paths I could watch or even books if there are any besides the basic 2D. Thanks for all the help.
-
I attached the file, machine is just a 3 axis mill. We'll be using a 2" cutter with .122 radius inserts. Going for .02 step downs test.emcam
-
I can attach the file later today along with the other info I used curve all edges to get my wireframe on the part when I attempted it, is simply splines something similar?
-
I saw that vid earlier in the week, when I tried it I would get errors about splines and I believe something about across isn’t in a defined view. I can’t remember exactly
-
Then I can’t use it correct? I know optirough comes with 2D does waterline also?
-
Isn’t waterline a 3D tool path?
-
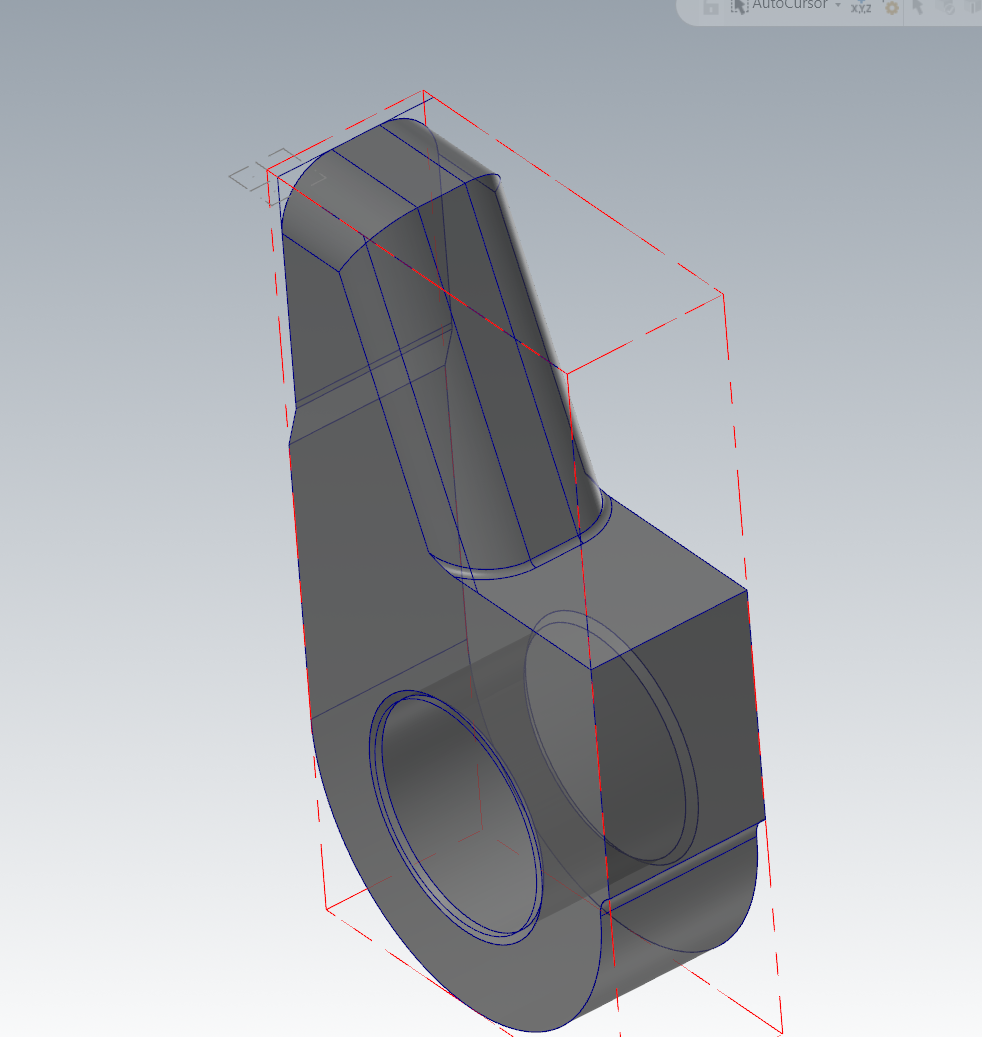
Relatively new to the world of Mastercam. Where I work just bought Mastercam mill 2D. The salesman told me this part could be done with the 2D toolpaths. I can't for the life of me figure anything out that works. I want to machine the 1" filets on the part taking .02 steps down in a zigzag motion, probably gonna have around .03 of stock on it. Any advice on how to do this with the toolpaths I'll have access to with the 2D version would be great.