lawrence walicki
-
Posts
15 -
Joined
-
Last visited
lawrence walicki's Achievements
")
Newbie (1/14)
0
Reputation
-
I'll def give that nine 9 a call, those look spot on! Thanks again everyone for the help and tips!
-
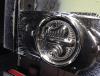
Yea my problem with such hard steel was that the steel literally ground my engraving tip down, by the end it was nearly flat, I've engraved a ton of soft steels and aluminum and I got away with it. I'll try running a ball endmill this week and keep you guys posted. Has anyone tried a dragging spring loaded diamond engraver before? My tooling rep recommended that especially engraving over 3d parts not just flat surfaces. Thanks again for the advice!
-
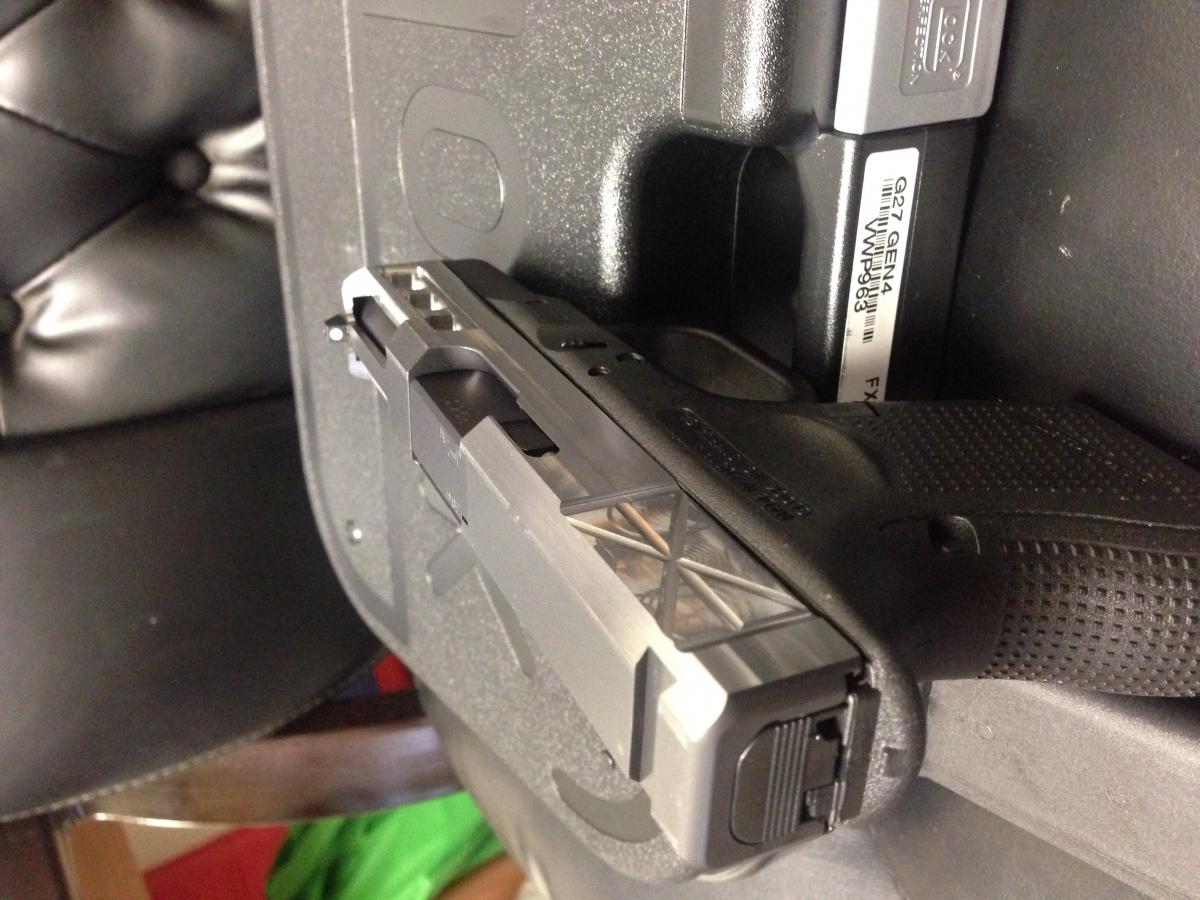
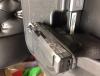
Thought about it but I'd need to use a 1/32 or smaller and have heard that in order to use that small, I'd need more spindle speed. That American flag is .006 deep
-
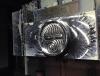
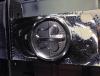
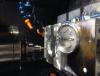
Here's some pics!
-
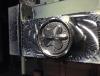
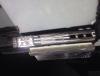
I'm machining my glock slides, everything's coming out perfectly except for engraving.... I ran a 90 degree countersink that engraves like a champ on soft steels and aluminum. Countersink allows me to engrave with some thickness and depth rather than a fine point 60 or 30 degree engraving tool that looks like it's just scratching more than engraving. Only problem is the lines aren't crisp, they look more chewed and forced than clean. I tried multiple feeds/speeds, faster spindle speed, slower feed, vise versa Any advice or what type of engraving tool to use? I'm running a Hurco vm30 10000 rpm max.
-
Need Help!!! unfriendly tool patterns
lawrence walicki replied to rubberstumpmaster's topic in Educational Forum
Open* -
Need Help!!! unfriendly tool patterns
lawrence walicki replied to rubberstumpmaster's topic in Educational Forum
When I create a model in solid works then own in Mastercam, the first thing I do is create a stock including a bounding box, if necessary, then I create the wcs's I will need to machine the part. For some reason when I create a model in solid works, it opens in Mastercam all funky. So try creating your wcs's before hand and make sure the tool plane is equal to your newly created wcs. I hope this helps! -
Also make sure you number it as well to provide a g54 or g55. 0=g54 1=g55
-
Sorry was in the middle of something, should have been more in depth. I've done this before and the way I got away with it was I went to my wcs manager, made a copy of the top was, renamed it, and set the xyz to where I wanted it to be, back left corner of the "top" of the part. Make sure the z is pointed up, x is pointed towards the right and y is pointed away. Make sure you set everything equal to your new wcs. I'm on my phone or I'd upload your file and show you. Hope this helps.
-
Change your wcs to whatever view you want.
-
Tool path help on 3d part!!!!
lawrence walicki replied to lawrence walicki's topic in Machining, Tools, Cutting & Probing
Thank you! I appreciate your help! -
Toolpathing a 3d part help!!!!
lawrence walicki replied to lawrence walicki's topic in Educational Forum
Thank you for the tip, I have the arc filter activated and set, I just read your other post you suggested and I too had the tolerance set extremely low, .0001. How would I use a different tool path strategy? Create a boundary with lines and contain that area when I try a different tool path? Any suggestions as to what other tool paths could be used? I was also told a ball cutter shouldn't be used to cut flat surfaces and I should tilt the part slightly so it uses the radius and/or the side of the cutter.... I've been using Mastercam for about 4 months and am addicted lol -
Tool path help on 3d part!!!!
lawrence walicki replied to lawrence walicki's topic in Machining, Tools, Cutting & Probing
That does make sense, is there any tooling that I could use to get a great shine finish? Unfortunately I don't have a 5 axis. I'll have to experiment with tilting the part. -
Tool path help on 3d part!!!!
lawrence walicki posted a topic in Machining, Tools, Cutting & Probing
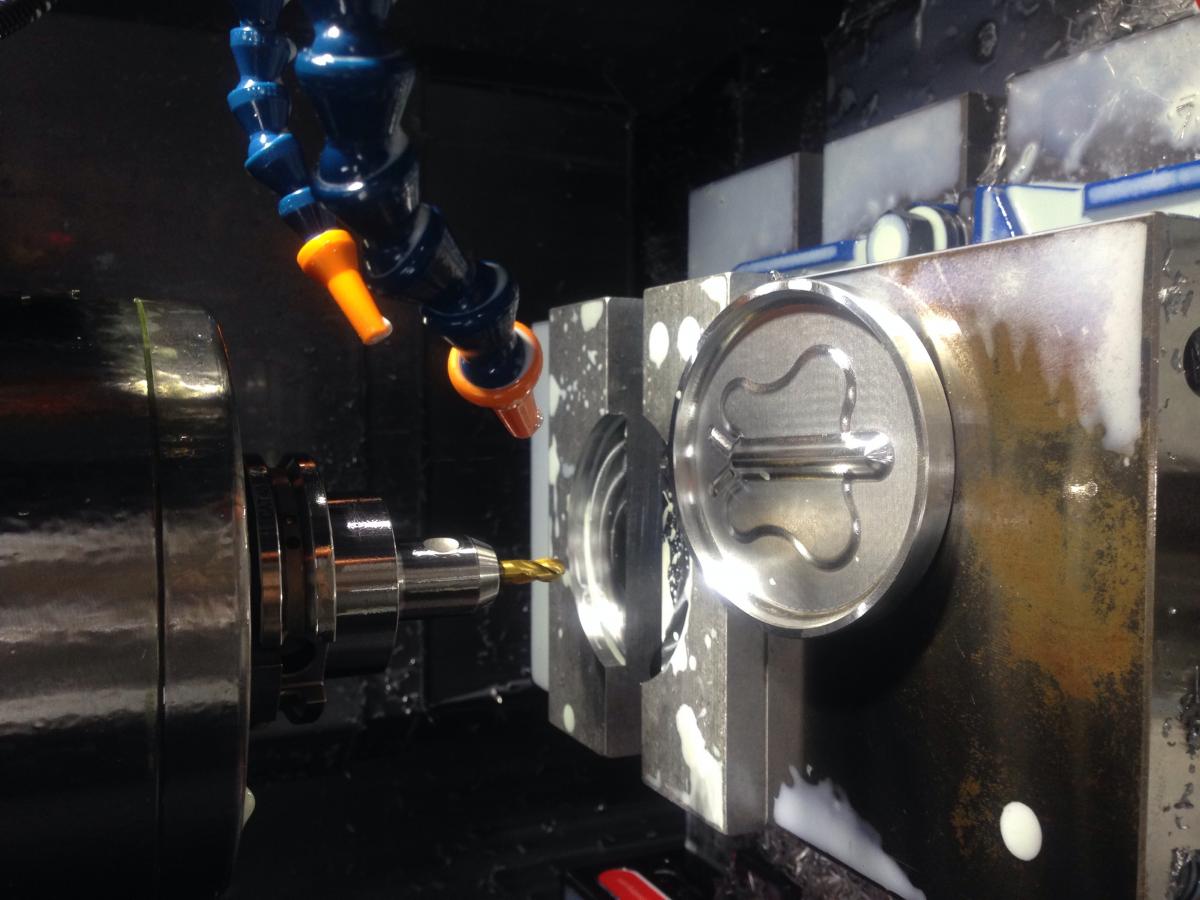
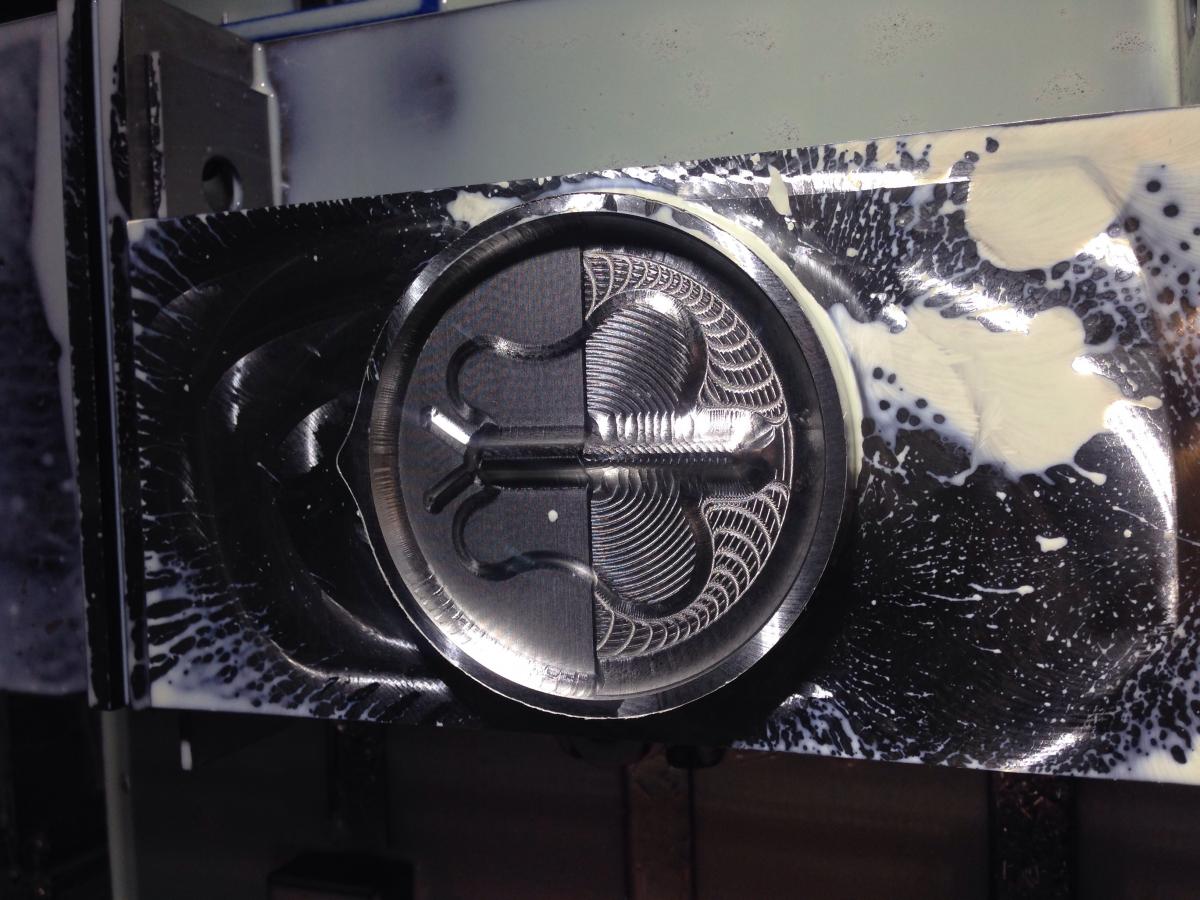
I programmed the part on x7, made this as a present for my sister. I finished the part with raster, stepped over .003, depth was .005, used a 4 flute 1/4 inch ball end mill at 55 ipm 8200 rpms. On the main body of the butterfly there are small nicks, what could be the cause? And why is the main body duller??? Helpppppp!

-
I have created this piece on mx7, I finished with Raster, stepped over .003 and .005 deep, 55 ipm 8200 rpm used a 1/4 inch ball end mill. On the main body of the butterfly, there are tiny nicks... Any one know why!?! And why is the color of the main part dull? Please help!!!!