Kolson1989
-
Posts
29 -
Joined
-
Last visited
Content Type
Profiles
Forums
Downloads
Store
eMastercam Wiki
Blogs
Gallery
Events
Everything posted by Kolson1989
-
My guess is typo, "right off the top" is what I believe he meant to say. Could be wrong, time will tell for an answer.
-
Opps misread your post. The roughing passes were causing it to basically take spring passes. But I also had tolerancing goofed up, and collision settings played a role in tool retract issues. I posed another parallel toolpath topic and another member went into great detail with helping me. Check it out, should be near the top of the list. Thanks!
-
Yes and no. Just when you think you have the toolpath beat a new hurdle shows up. Multiaxis a an exciting mountain to climb but defiantly tough. Thank goodness there is a ton of seasoned vets to help guide.
-
Thanks for the advice. I am working on another job and again having retract issues. for some reason I cannot get the file small enough to post a zip. Darn, well thank you for all of the help!
-
Ahh I think I found the issue. With the collision active, and the current .375 ball selected it will throw a ton of retracts because of the contact with the back surface. Multiaxis is such an intriguing thing! Thanks a million for the help and guidance. Im trying to learn as I go, and the computer I have is not the most powerful so tool paths can be time consuming to regen when you are not sure what parameters are correct. Im hoping that my company will send me to some classes to better educate me with this. In the meantime give yourself a big pat on the back! you deserve it! -Keaton
-
Aaron, Something odd is happening, as I was looking threw the parameters of the zip you sent the path went dirty after I exited out of it. I am 99% sure i did not change any parameters only viewed the lines/surfaces you selected which i now will cause the tool path to go dirty, but this is not the issue. My issue is that when i regenerated the tool path it came up with a TON of retracts now. Did I change something? Is my Mastercam set up goofy? I did attach a zip of the toolpath you created so you can overlook it. Thanks again for the help/time! TEST_CURL_-_ACE_ko.ZIP
-
thanks so much for the detailed help!!! I will try all of the above! And the gouge on the back side is planned, because of the need to weld that surface. But again Aaron thank you very much!
-
Hello eager newbie wannabe multi axis guy here. I am trying to use the multi axis parallel tool path to cut a drafted cylinder into a radius. I am only needing to cut near the bottom of the solid as you can see in my zip. The plan is to remove stock where the tool path is cutting so that it can be welded. I have used a curve 5 axis before with depth cuts but am hoping to follow more of the geometry and use the "drive surfaces offset" to adjust. Now for my question, there are a few retracts and direction changes. Is there anyway to prevent this, and just have a smooth flowing path that follows the geometry? Thanks for any and all help, this forum and member's have been a great help in sharing knowledge. TEST_CURL.ZIP
-
I believe I just found my issue. While in roughing parameters I had my roughing passes set to 15. Not realizing that It would run the same level 15 times, not step 15 times. Sorry, it has been a long day and this job was just tasked to me saying "see what you can do". It is exciting because this has been the most difficult multi axis request so far. Thank you have a great weekend
-
Hello, I am trying to use a parallel tool path to cut an angle into a radius. It seem that in the beginning of the path it cuts exactly what I would like it to. After that it jumps around and looks to be cutting the same material. Why would it be doing this. Thanks for any and all suggestions. I did have to change my step over from .010" to .050" in order to get a file size to upload. Tool path still seems to be cutting more then it needs to . Thank you for your valuable time! CURL.ZIP
-
exactly.... but I did change the value under integer to 2 (no) and it seemed to do the trick. Next job that I run into this scenario I will be sure to give it a shot. Thanks all.
-
thanks much, I will try that. Just had edited the retracts out, and produced the result I was looking for. Like I said, was just hoping for a quick parameter change that would produce the same code that Mastercam simulated. Thanks Again!
-
Thanks for the help everyone, I shot an email to our re-seller. Hopefully he can shed some light. I was just hoping for a quick parameter change. Apparently its not that easy in this situation. have a great rest of your days
-
Ok, I have changed the post to use code expert.
-
Thanks nickbe10, Its windows 7
-
2019 2019
-
Are you able to tell from this snip? Thanks
-
I think I understand what you are saying. The editor we have is Cimco v8. Under the general settings, or all the settings for that matter there is no selection box similar to the MPMaster. I may just have to edit them out by hand, attached is a sample of the program. If you scroll down you can see where the first retract is and where it inserts the MB's and the plane reset turn. I feel i could delete lines 410-415,&417, keep line 416 and get the result i am looking for. Thoughts? Thanks! C890_det_600_FULL_ECR3_rev_A.H
-
Thanks for the response! Not sure what you are refering to. Is MPMaster a post editor, or a feature within mastercam.
-
Hello, When i go to post this path, upon every retract the machine wants to do a max back and plane reset turn, then return to the cut. Is there a parameter i can change to keep the tool in the cut? Or is this a post issue BUCKET_CURL.ZIP
-
Thanks for the reply and sorry for the late response, forgot I posted this. Because time was of the essence I ran a straight up ramp path to clear out the channel. I did play with depth of cuts but the ball would always revert to the tangency depth. I will look into those other paths as well! Thanks! On a similar note, is there a way to offset the depth of the tool cut on a swarf path to go beyond the lower curve line? There is very little full 5 here and love playing with it creating faster/efficient paths (plus they look slick). Attached is a zip. DROP_SWARF_Z.ZIP
-
I am having an issue starting the tool at the top of the stock, VS it wanting to start at the tangency of the ball. What am I missing, or is this just the way the program computes? SWARFCHECK.ZIP
-
OK finally got something going. Only thing i see is that the cut time is 2+hrs. I have depth of cut to .02 and step over to .02, is there something im missing that is causing a longer run time? or is my tool choice poor? possibly a .250 bullnose? Thanks!!! p.s Im regenerating with a .250 w.03r .02 DOC and a .15 step over.
-
Thanks Ron, I did start a new operation, but also changed the depth/step-over to better suit the cut. Also selected the other channel. It did end up regenerating soon after my reply so things are heading the the right direction!
-
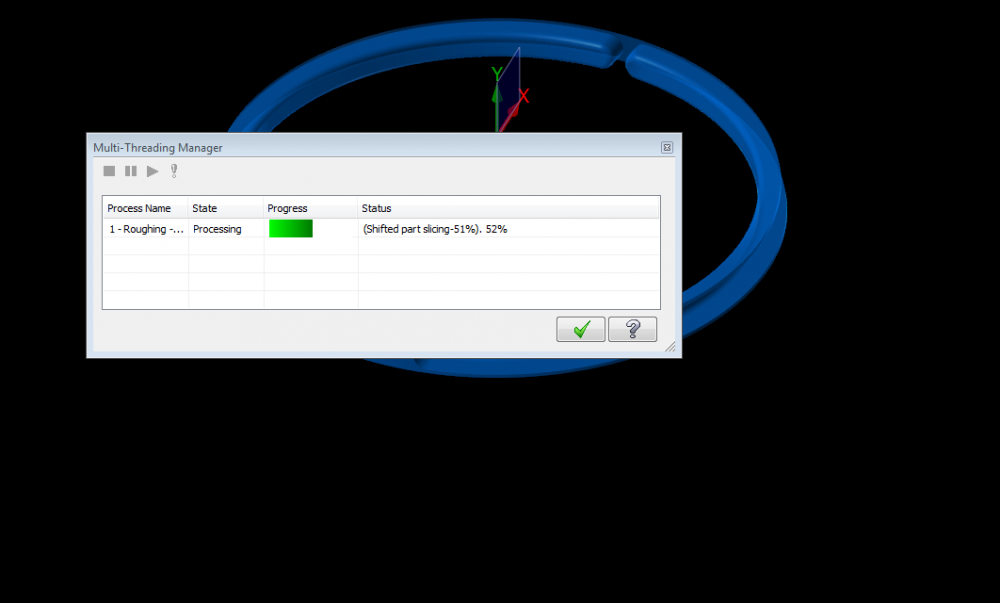
tried that but still gets jammed up while regenerating. I screen shot a pick of what the multi-threading window says. Thanks for taking the time to look at this!