


Scott Lundin Shopware Inc.
-
Posts
538 -
Joined
-
Last visited
Content Type
Profiles
Forums
Downloads
Store
eMastercam Wiki
Blogs
Gallery
Events
Posts posted by Scott Lundin Shopware Inc.
-
-
Something interesting from the Mastercam Help file for swept solids when it comes to multiple section chains.
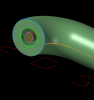
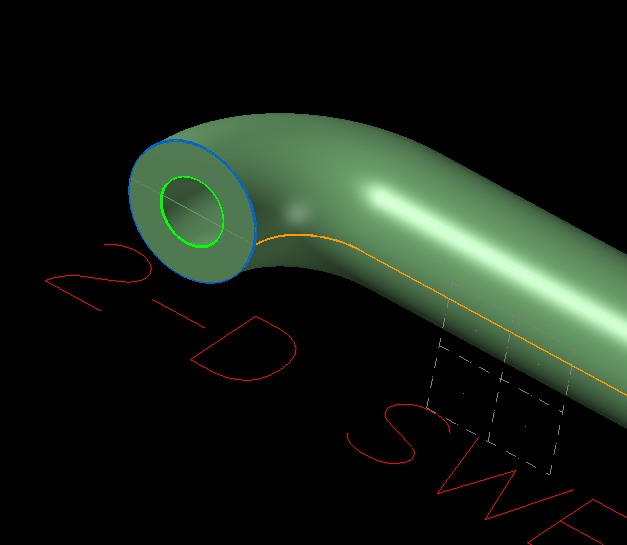
The Sweep operation can have more than one section chain only if there is an outermost chain that defines a closed boundary around the other chains and all of the nested chains are in the same plane. The chains that are nested within this boundary form cutouts in the solid.In the pictures below chaining the blue and green circle create a tube. (The orange partial chain is the path). Chaining all three circles create a tube with a second solid (a shaft) in the middle of the tube. Note the three circles are nested and in the same plane. The blue circle is the section chain that "is an outermost chain that defines a closed boundary around the other chains."

-
-
^ Yes.
-
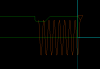
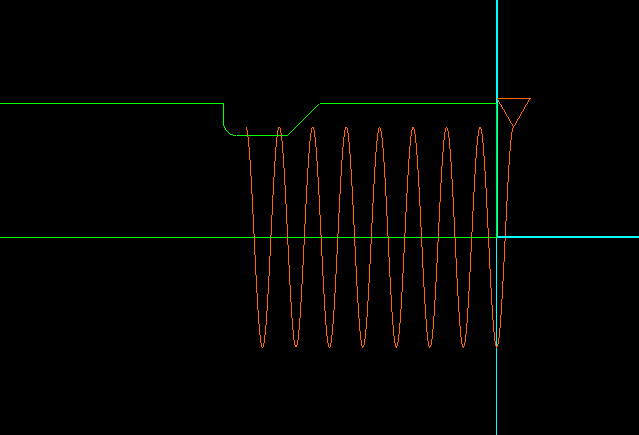
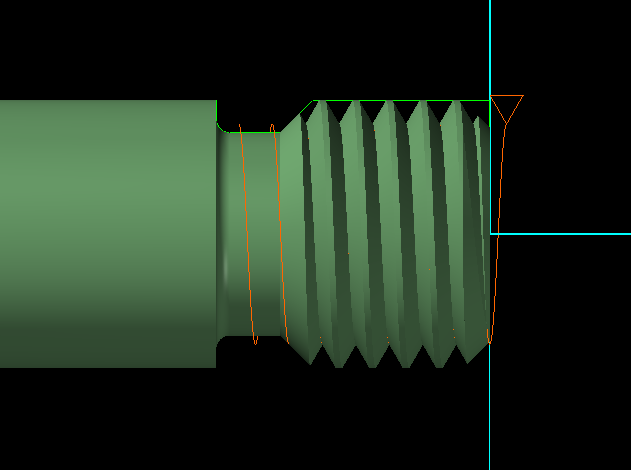
Create a triangle (60 degree V thread) in the top plane. Create a helix in the right plane. Solid sweep the triangle along the helix.

-
 1
1
-
-
I always use the "undefined" tool category then you don't have to "scale" your on-size tool drawing. I think it is when you use any of the other categories that you will have to scale it as shown a few posts above.
-
Have a look at this thread for some help: http://www.emastercam.com/board/index.php?showtopic=66035&hl=%22entry+point%22
-
Hmm, not sure why the file didn't attach but it should be attached to this post.
-
1
-
-
On a VMC the Mastercam Back and Bottom view will be backwards. You need to make your own back and bottom view to have X+ pointing the same direction as the Top and Front views. See the attached mcx file for an example.
-
Your welcome. I don't know exactly what causes the no toolbar situation when installing X6 for the first time but I have seen it happen several times now. It seems that somehow the mcamx.config file doesn't install itself properly.
-
Shut down Mastercam, then go into mymcamx6\config folder and delete the file named mcamx.config. Re-start Mastercam and it will rebuild a new mcamx.config file.
-
Rickster was fighting this problem way back when. Hey Rickster - has this problem returned on your pc?
-
I just did a raster in X6MU2 and set stock to leave for walls and floors at zero. Saved the file, reopened , still at zero. Shutdown, start mcam, open file, still at zero. I will check it several more times over the next few days.
-
Here is some history on this subject: http://www.emasterca...l=+stock +leave
-
If I remember correctly this was due to using update folder on an X5 operations default folder to update it to X6. I don't see this problem when I do a clean X6 install and use the installed X6 ops default file. Its been a while, I don't remember exactly. Maybe someone else will chime in.
-
I tried an ATI card a while back (Mastercam X3 era) and also did not get any chaining direction arrows unless I disabled hardware acceleration. Nvidia is the only way I will go now.
-
Generally that means every time I close and re-open a dialog im moving it back to where I would prefer it to be.
I don't see that problem here. I move them where I want them and then close them. Even if I shut down mastercam they still open where I had put them. (Nvidia GeForce 310 here on my home pc).
-
Also is there a way to use a contour toolpath that will move in the depth at each end of the contour? No not ramp and zig zag just go down at each end and backand forth along the chain.
Yes, use contour "ramp plunge" and give it a depth value located just under the plunge box.
-
1
-
-
MastercamsSolid sweep can only use two chains. One across and one along, meaning you can not "change the shape along the path". You can do it with surfaces, but not solids.
-
If you have two monitors do this:
Switch MCAM to a windowed mode and stretch it across both monitors. Now you will have access to the right side of the OPS MGR and you can shrink it down. The OPS MGR was only extended to the end of the main display, but once extended MCAM in windowed mode, the OPS MGR was extended way past the main display.
-
If you use create curves on all edges of a cube drawn as a solid you will get 12 lines (as it should be). If you use create curves on all edges of all surface of a cube drawn as surfaces you will get 24 lines. Use a combination of all edges for the top and bottom of the cube and then curve on one edge of a surface for the remaining 4 vertical lines.
-
It does not calculate any extra time for peck drilling vs. one shot drilling. This can add up to a lot of time on very deep holes.
-
1
-
-
The insert page for lathe tools has choices for 75, 82, 85, and 86 degree inserts. In 35 years I have never seen these in any tooling catalogs in the USA. Are these angles available in other parts of the world and which if any are commonly used / available?
-
Last week I tried out a calculator for high speed machining that worked very well for one of my training classes. We were working with 1018 steel. Do a google search for gwizard. It is made by CNC cookbook. It seems to have everything covered including how far the tool is sticking out. We started at the lowest of the four aggressive settings and got up to the third most aggressive. We stopped there only because we ran out of time.
For Stainless 17-4ph for a 5/8 dia - 5 flute high performance end mill, sticking out 1.75 from the holder, it came up with: .625 doc, .0438 stepover (7%), 3919 rpm and 88.5 ipm (lowest aggressive setting). 4136 rpm and 140 ipm (2nd aggressive setting). At a 10 % stepover it says the tool will deflect more than .001 and will cause chatter.
Has anyone else tried out this g-wizard calculator and did you like the results? It is free for a 30 day trial. I don't what it costs after that.
-
Also, teach them how to figure out where Center of Rotation is.
My first lessons in the hands-on portion of the class is going to be on mounting the trunnion, indicating for alignment, and how to determine center of rotation.

Solid Sweep
in Industrial Forum
Posted
Kevin, That is why I made the post above. The Mastercam help I quoted says it all when it comes to having two or more section chains along a path. I didn't fully understand what it meant until I started playing around with it. The file I used was actually for a swept surface that changes shape from one end to the other.