swanny
-
Posts
60 -
Joined
-
Last visited
Content Type
Profiles
Forums
Downloads
Store
eMastercam Wiki
Blogs
Gallery
Events
Everything posted by swanny
-
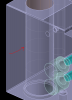
ok there is the scallop settings I was using

-
ok well im not quite sure how to add an attachment. whats the easiest way
-
but it shows the finish in the verify
-
haas
-
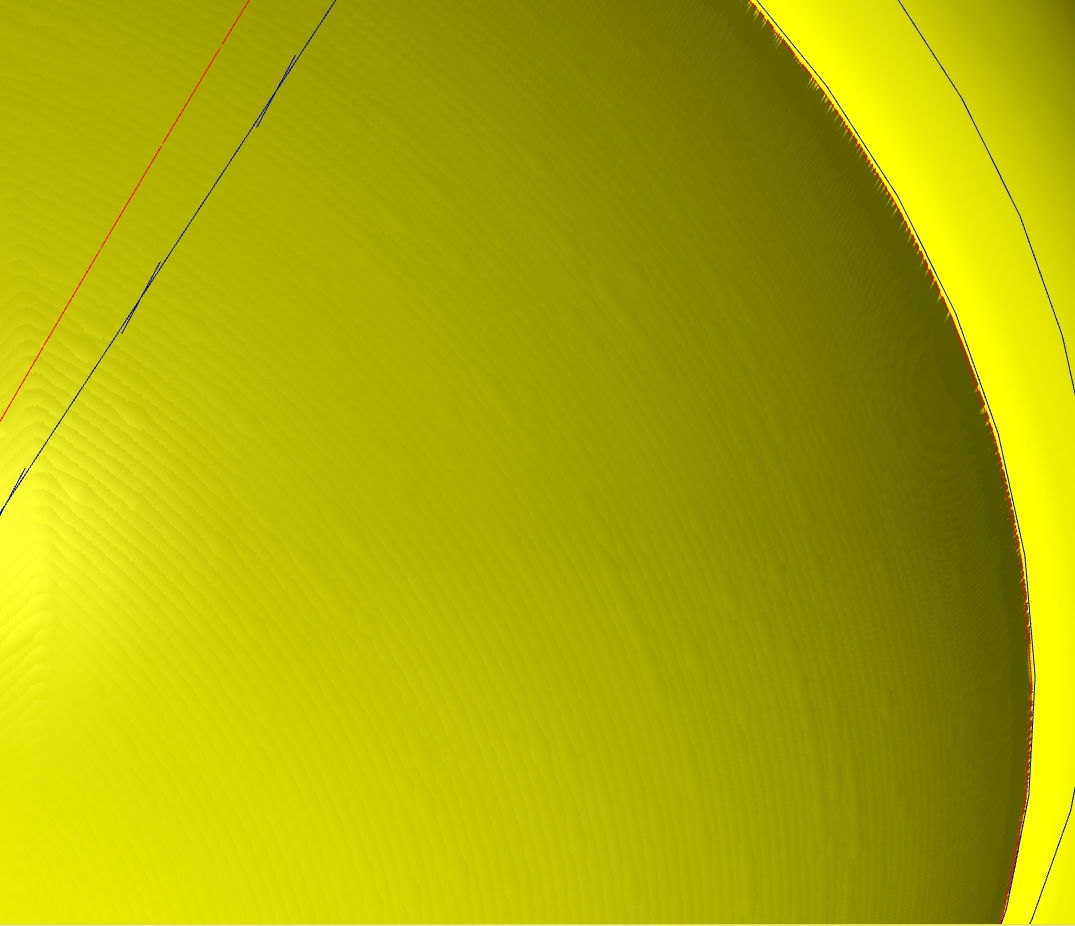
I really can't attach the mc file. I am using a 3/16 ball .005 stepover. I put my total tolerance at .0005 and have all my filtering and smoothing maxed out. I will try the sf blend, that's about the only thing I haven't tried yet. Usually if I go with a 2D toolpath using arcs and lines my finish is perfect. I am using X8 at a new shop. Not sure if there is a setting I may have missed.
-
I am trying to machine a concave 1/2" radius sphere. I've pretty much tried every toolpath you can to machine this. My verify finish looks choppy, almost like an orange peel. I have machined it in aluminum and am getting the same finish the verify shows. I thought this was graphics related, but now I am thinking it has to be a setting. I have tried filtering and smoothing settings within the toolpath but am getting the same results. I tried just a 2d swept and got the same thing. So my surface isn't the problem. Here is a picture of the scallop verify.

-
Looking for an X2 post no MR1 for a 4 axis rotary haas. Anyone?
-
F.Y.I.-I just got off the phone with an Industrial Division Mastercam tech at CNC Software Inc. This isn't suppose to work like this. He is running more tests on it and will be getting back to me. He ran it on 3 different versions of Mastercam (7,8,9) and was getting the same result.
-
Who said I didn't catch it?
-
If you have it turned off then its not threading at the beginning, so what's the difference?
-
So its ok to have a quarter of a turn in a thread at the entry without a z movement as long as its single point? Once you are into the thread diameter it should always be moving at the pitch. Single point, multi point, whatever. A quarter of a turn is .015 in this case. So this option is in there so you can use a single point tool in a thru hole and you can start below the thread and want to, for whatever reason, have a quarter of a turn without it moving in the z axis? I get the fact turning on helical entry/ exit eliminates all this, but why have this option at all if the outcome could be a bad thread.
-
Still doesn't make sense. I'm already in an arc in the toolpath but it doesn't post a z movement. Its just a basic perpendicular entry. This way I can use cutter comp at the control to size my threads.
-
I wrote a threadmill program using a 5/8 diameter multi toothed threadmill with 16 threads per inch. I turned off all types of entry and just clicked start at center. So the tool starts in the center at the bottom of the hole, moves perpendicular into the wall and works it way up at my pitch of .0625 Well when I post it out, the first quarter of the arc movement it doesn't move in a z axis. Then on the exit, the last quarter of the arc it doesn't move in a z axis. This is giving me overlapping threads. I've never seen this happen before or maybe I just never noticed it. Here is a copy of my post: (THREADMILLS FOR 1-5/8"-16 THREAD) T6M6(5/8" X 16 PITCH THREADMILL) M11 G0G90A0.(INDEX) M10 G5.1Q1 G0G90G54X.0003Y0.S5500M3 G43H6Z6.T4M8 Z5.052 G1Z4.327F50. G41D6Y-.485F35. G3X.4853Y0.I0.J.485 X.4853Y0.Z4.3895I-.485J0. X.0003Y.485I-.485J0. G1G40Y0. Z4.327F50. G41D6Y-.4925F35. G3X.4928Y0.I0.J.4925 X.4928Y0.Z4.3895I-.4925J0. X.0003Y.4925I-.4925J0. G1G40Y0. Z4.327F50. G41D6Y-.5F35. G3X.5003Y0.I0.J.5 X.5003Y0.Z4.3895I-.5J0. X.0003Y.5I-.5J0. G1G40Y0. Z4.327F50. G41D6Y-.5F35. G3X.5003Y0.I0.J.5 X.5003Y0.Z4.3895I-.5J0. X.0003Y.5I-.5J0. G1G40Y0. G0Z5.052 Z6. G5.1Q0 M5 G91G28Z0.M9 G91G28Y0. G0G90G54X-20. M201 M30 Hopefully someone can figure this out. I know if I turn on helical entry and exit it fixes this. I'm wondering why this would even be an option in a threadmill program. Is this a glitch?
-

Edit tool shows in backplot but wrong in verify
swanny replied to swanny's topic in Industrial Forum
It's like I can't change the tool number or dimensions of the tool if more than one op uses the same tool. Normally if you change the tool any way other than feeds or speeds, it dirties all associated ops. But for some reason this isn't happening. It shows a change on my parameters page and when I backplot but when I verify it's verifying to the tool before I made changes. If I change the tool number and post it doesn't reflect the change. This only happens when more than one op is using the same tool. -
Edit tool shows in backplot but wrong in verify
swanny replied to swanny's topic in Industrial Forum
I meant NCI and operations. -
Edit tool shows in backplot but wrong in verify
swanny replied to swanny's topic in Industrial Forum
No I am not saving this tool anywhere. And yes that is how it should work and has worked before I started using X8. I know the verify uses the NC file now. So it is verifying what I post. Could it have something to do with that? And even when I reselect the tool it doesn't show the program being dirty. Even when I do regen the program it still verifies to the old tool. -
This problem just started happening. I write multiple programs using the same tool. I go and edit the tool, (number, size, or any other dimension) in one of the programs. Usually it will make all other operations using this tool dirty and will need to be regenerated. But lately it doesn't dirty any of the ops. I look at my backplot and it shows my new tool. I look in my program and it shows the new tool. When I verify, it still shows the old tool. I have been having to delete this tool, which then dirties all ops using it. I recreate the tool and reselect it in all ops. Is this just a setting somewhere? Why isn't my tool associativity reflecting the changes in my programs. If I only have 1 program using this tool and I go in that program and change the tool, it works. Only when I have multiple programs using the same tool it doesn't work.
-
Well when I go into my config file they have them listed as surface edges. UV, surface edges, what ever you want to call them, I was looking for a way to remove them.
-
Does anyone know if there is a setting to remove the new surface edges in x8. Even if I change the surface edge color to the same as the part color, they still show up.
-
i want to be able to run a roughing program with air, and then when that stops i want the air to turn off and be able to turn coolant on from mastercam. i usually have to do it in the toolpath editor manually putting in an m83 to turn it on and then an m84 to turn it off after the roughing tool. i have a lot of programs running unattended over the weekend and would like to use this as an option.
-
i want to know if someone knows how to use air when programming for mastercam. i have been just going into the editor and doing it manually. is there a way to program it on and off per tool?
-
back plot show rapid a direct movement in x,y,z and the haas will move at a 45 degree in both axis until it runs out of length in one axis and the finises off its rapid movement in the other axis. any way to backplot like this in mastercam or a setting to change in haas to run like backplot shows?
-
production must suck!
-
yeah well some of us arent running production. i have a part that takes up the entire haas table. it is full of detail. if you cant help out please dont leave me a post.