
paulfell
-
Posts
133 -
Joined
-
Last visited
Content Type
Profiles
Forums
Downloads
Store
eMastercam Wiki
Blogs
Gallery
Events
Everything posted by paulfell
-
tried that - but still goes so slow as to not be feasible (hours)
-
VERIFY (MCX 2018) GENERALLY WORKS VERY WELL - BUT IF I USE A SURFACE FINISH CONSTANT SCALLOP TOOLPATH WITH SMALL CUTS - IT LITERALLY TAKES HOURS TO RUN ON VERIFY - EVEN WITH PERFORMANCE AND FAST SET ON VERIFY - ANYONE ELSE FOUND THIS - IS THERE ANY WAY TO SPEED IT UP - OTHER SURFACE TOOLPATHS (EG FLOWLINE)ARE FINE ??. i DO WANT TO HAVE THE OPTION TO USE CONSTANT SCALLOP- BUT NEED TO BE ABLE TO RUN IT THROUGH VERIFY ? Apologies for Capitals - I forgot to knock caps lock off !
-
THANKS
-
I have a problem with levels occasionally disappearing from view in 2018, if I copy something to a new level ( put in a number of a 'new' level to copy it to), the 'new' level doesn't appear in the levels manager. If i then go into the manager and type the number of that level ( as if I was making a new level) - the level then appears in the list with all the previously moved or copied entities on. Its like the level is hidden - Ive not changed version , pc or any settings - any ideas ?
-
i have had these settings on previous versions of mastercam - just changed in this version( only changed recently) - wanted to know where to change them back both theses settings are safer in my opinion, 1/ click on a tap in a copied toolpath and it will retain previous speed - could try and tap with a speed of 15,000 rpm ( i've done this on more than 1 occasion) 2/ add a toolpath - it would have a different name to rest of group - it would not post with the rest of group - not ideal (easy to miss) i can think of some problems associated with these settings - but having been used to them for many years - i think they are a lot safer than ones i changed
-
Thanks ManofWar - that sorted it on both counts -
-
Could someone point me in the right direction regarding changing some defaults, the 2 i am having issues with are:- 1/ If i copy a toolpath - then select a different tool- the speeds/feeds stay the same - unless I right click - re-initialize speeds/feeds, I would like the speeds/feeds from that tool to go in as soon as I click on that tool ? 2/ If i put a new toolpath in an established group of toolpaths assigned with a (nc file number) for posting, the new toolpath defaults to the mcx file name for posting - easy to change - but i want it to default to last nc file number entered or same as group of toolpaths I am adding it to ?
-
a couple of questions relating to this image, it is using surface flowline, when its finished scanning the taper (bottom up) it is going to retract straight up and gouge the job - i can add a line at machine to avoid this - but is there anyway to post it ?. Also, the toolpath is recognising and using the end of the tool to scan - with this type of cutter - can you use the top of the cutter to scan or only the end ?

-
THANKS - imported that toolpath and repicked surface & curves - looks good - posted ok - its a 5 axis machine - its rotated A axis to -90 and just posted x,y,z & c axis from there - so acting like a 4 axis - just what i wanted - thanks
-
if you look at sreenshot attached - i am scanning blend rad on corner - toolpath shown is on one side - i then spin component 180 degrees and scan other side, the toolpath i am using is a std 3d parallel one, what i want to do is use a multi axis parallel to scan all round in one go, (using muti axis parallel) - I can get it to do it in theory - but cutter stays tangental to rad and machine limits prevent actually machining it. Is there a way i can control the plane so that cutter stays at 90 degrees throughout the toolpath and uses full range of the ballnose - the way it would on std 3d parallel toolpath, is this possible in multiaxis parallel ? - I have tried - but with no success yet ??
-
thats done it- great - thanks for the help
-
What do you mean by ops manager ?
-
Example screenshot of lead in
-
Not done much multi axis toolpaths - i want a lead in and lead out on every depth - i can get it to lead in on every depth or lead out - but not lead in and out on every depth ?? SWARF.mcam
-
Thanks - knew it would be easy - just couldnt find it - cheers
-
SEE SCREENSHOT SHOWING DOTS ON ENDPOINTS - HOW DO I STOP THE SCREEN DISPLAYING THESE DOTS ???
-
Thanks -right click delete worked
-
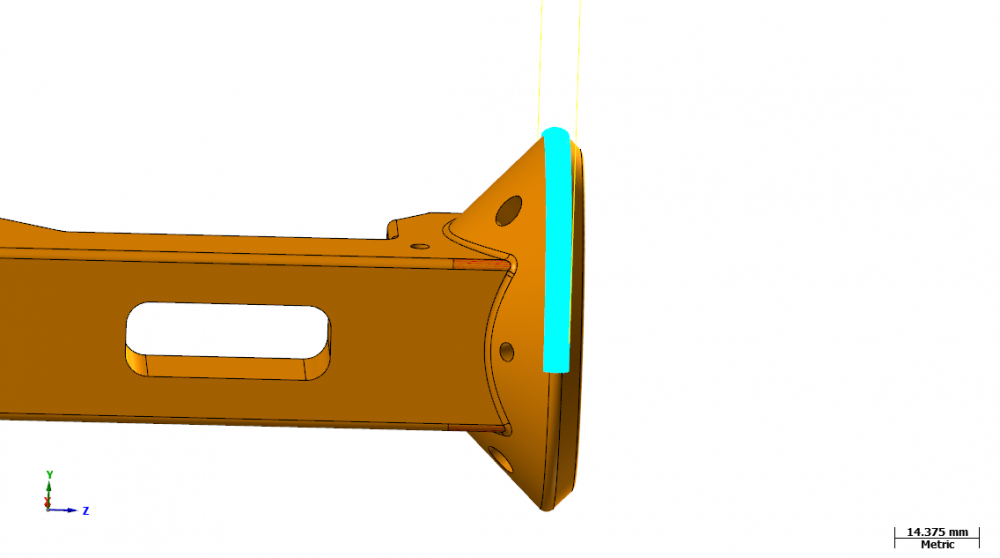
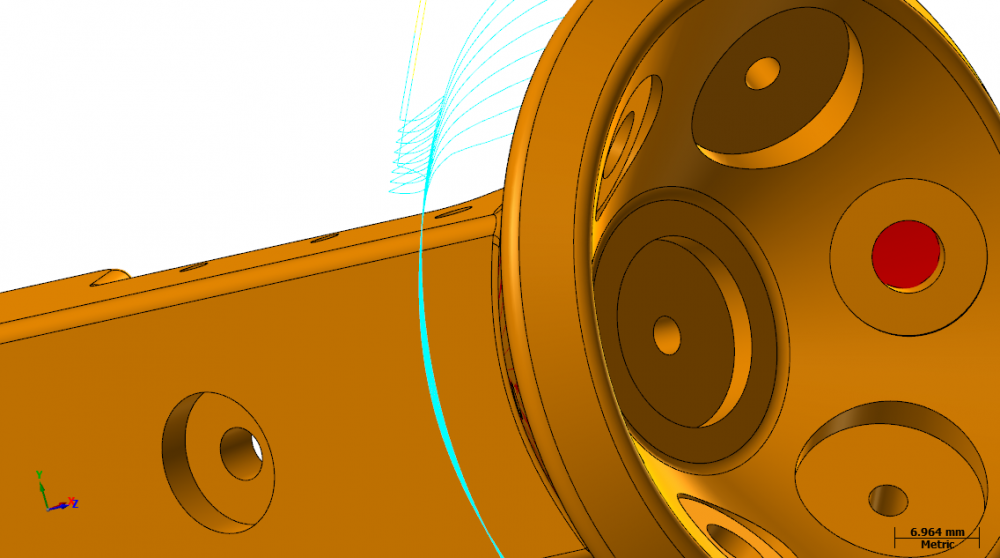
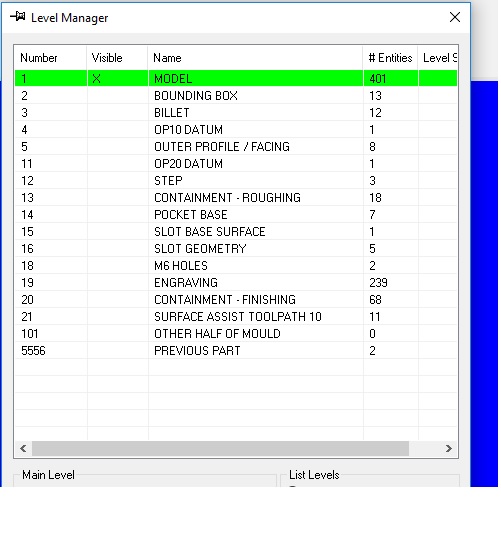
I like to have the model i am working on, on Level 1. and nothing else on that level, normally no problem. However, due to the nature of components I am working on at the moment, as I finish 1 component, the file is is saved and the next model is imported in, as the toolpaths etc are used on the next part, the previous model is deleted and mcx file saved under new part number. Although I only have 1 model on Level 1 - the number of entities keeps going up (see screenshot i.e. 401 entities on level 1) . I am familiar with unhide and unblank - but there is nothing to unhide or unblank - what are these hidden entites on level 1 and how can i find them and delete ??
-
thanks - thats the one
-
shame- its been useful for me in the past
-
I remember referring to a table where members had logged results on dynamic toolpaths - what tool - speeds/feeds stepover etc. I've searched for it, but cant find it- can anyone point me in the right direction - thanks
-
Migrating from x9 to 2018, can anyone give me a brief outline of what procedure is for migrating, and also, what settings (e.g. workspace ) I can import and what things I have to do manually to get it as near as I can to my x9 set up ( i know 2018 layout is quite a bit different ). I am fine loading software - installing posts etc - but if any can give me a basic step by step guide of migration process - I would be grateful - thanks
-
I have enclosed file having a go at chamfer top and bottom of this part - I have relly struggled. I can do the chamfers another way - no problem - but would relly like to get more used to 5 axis cycles. The parallel cycle listed in post above is perfect - exactly what I wanted - but struggling to recreate in x9 (how do use curve to control motion as in 2018 ?) . On the top chamfer - its something like what I want- but angle near either end of chamfer is too severe - how can I control the angle that tool approaches . I have played around with it - but not getting anywhere - any help appreciated? 5 AXIS CHAMFERS.mcx-9
-
Thanks again - ive viewed the file in 2018 - software loaded - just not using it yet whilst im sorting out minor post issues - thanks
-
thats look just what i'm after - not programming it until later - will have a look then, Just to clarify - I am using Multiaxis Toolpath - then selecting parallel cuts from the Surface/ Solid Menu. Still on x9 - I assume it will work on that ?