within a thou
-
Posts
756 -
Joined
-
Last visited
-
Days Won
1
Content Type
Profiles
Forums
Downloads
Store
eMastercam Wiki
Blogs
Gallery
Events
Everything posted by within a thou
-
G10/FR 4 Plastic Material
within a thou replied to SpecialtyTool's topic in Machining, Tools, Cutting & Probing
I am unsure but I watched a demo of them in some 17-4PH 16mm or 18mm diameter feeding at 38.6ipm and it wasn't struggling. Think it was 4xD. They ran the same size drills in both their 880 (the whole drill tip is carbide) and their udrill they ran at 19ipm and 10ipr respectivly. They also had a 6mm solid carbide 30XD that was running 8ipm the full depth of the flute. I wouldn't have believed it if I hadn't seen it. You need a pilot to start the drill and if you turn the high powered STC on before the drill is in the hole it will snap. -
lining up holes on mill turn
within a thou replied to steveo25's topic in Machining, Tools, Cutting & Probing
Don't feel bad I had to reread it a few times myself lol thinking those were the jaws as well then I saw about the steady rest and thought about it. -
lining up holes on mill turn
within a thou replied to steveo25's topic in Machining, Tools, Cutting & Probing
Ron, How I understand it is that is the steady rest modelled not the jaws. The one end is held by the jaws and not down the spindle bore which is why he can use a level on the pin to pick up the first hole like he is doing right now. There is no turning of the OD. Just face the one end, drill the holes, chamfer then flip and repeat. He says he currently uses a level to align the first hole to the second. It says the lathe is a Mori Seiki NL 2000SY which has a 2.5 spindle bore and this is a 3" bar. -
lining up holes on mill turn
within a thou replied to steveo25's topic in Machining, Tools, Cutting & Probing
Make the pin long enough it rests up against the face of your chuck and it will bring your length in for you. Turn the part until the pin sits against the side of your #3 jaw and chuck face. Figure out the angle once set it and the next part just make sure that the pin is against your #3 jaw again and ya are good to go. -
G10/FR 4 Plastic Material
within a thou replied to SpecialtyTool's topic in Machining, Tools, Cutting & Probing
Sandvik came out with a line of Carbide drills for composites that are supposed to eliminate the burrs and chipping on break out. Call them and have them do a demo in one of the scrap parts before you buy. http://www.sandvik.coromant.com/en-gb/products/corodrill_854_856/Pages/default.aspx -
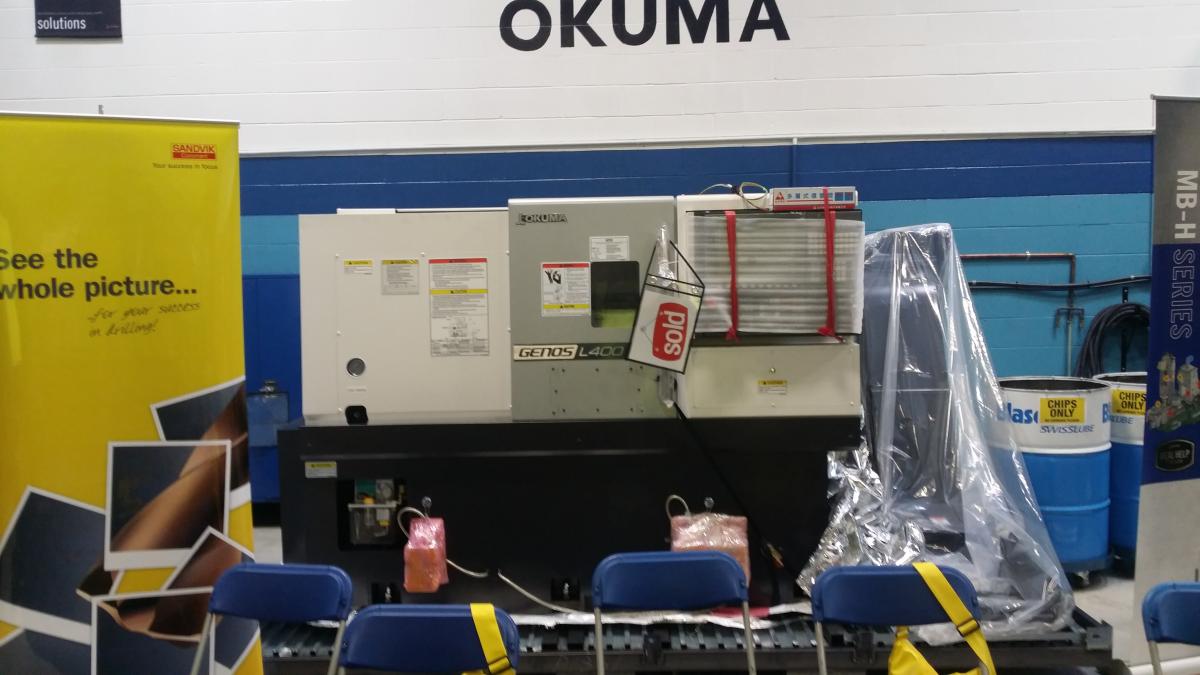
New machine arriving today
within a thou replied to within a thou's topic in Machining, Tools, Cutting & Probing
Here it is at the resellers place. I will have more pics after I get the bar feeder attached and when I move it into my new shop,.
-
New machine arriving today
within a thou replied to within a thou's topic in Machining, Tools, Cutting & Probing
The machine got here and their looks to be a spot on the casting that has been patched sanded and then repaintedwith possibly bondo. Even the paint they didn't use the wrinkle brown nor the right shade.When I get back to my other plant where the machine is I am going to check it with a fridge magnet. My maintenace guy is trying to tell me its from the sprue when they casted it But I highly doubt Okuma would choose to place the sprue directly below the door in the direct middle. One would think they would pick a far less conspicuos spot. The reseller has contacted okuma to find out if it is a patch in which case they will replace the machine letting me use this one until the new one arrives. Which wouldn't be to bad since I would be able to beat on this one to see just how much abuse these little lathes can take. Another thing was when I checked the standard included equipment that was on my bill of sale it states that I was to get a live revolving center and also a rotating center but they only sent one. It is a typo on their part so they are shipping me a second live center. -
I had to reset my home position in the X axis. In the manual they show the procedure which I have done but now after turning write enable off. I have a bunch of over travel alarms that I can not clear. The last procedure in the manual says to turn off write protect and "extinguish the alarm' I have tried to repower and reset through the electrical panel hitting the reset button and also "canP" while booting up to no avail. Anyone have any ideas how to get this to clear? Only other thing I can think of is to grab a fire extinguisher and hose down the machine to see if that "extinguishes" the alarm.
-
So I have a Okuma genos L400 showing up today. I know about taking pics while on the truck and after the riggers get it into place and checking the final bill of sale to double check that all accessaries have arrived. But is there anything else i should be looking out for? it's been a while since I have had the chance to unload a new machine and want to make sure I am not over looking anything. Thanks in advance for any help.
-
Fanuc 16i tool length default value
within a thou replied to left coast lefty's topic in Industrial Forum
Then why not make it a company policy that before any program is ran G49 is searched and removed. After it is gone add a note to your program header that says proven program by adding a character to that and then you know it is gone. -
Fanuc 16i tool length default value
within a thou replied to left coast lefty's topic in Industrial Forum
Why not just remove the G49 all together. It's not needed if your first move in Z on the next tool is your G43 line. I agree positive offsets are the way to go since you can do a quick tape measure check to make sure the tool was touched off and isn't a value from a previous tool. -
I just went to a seminar that had Blaser Swisslube do a demo. They have offices in Utah and I believe NJ if I remember correctly. I would contact them. I am moving my shop next month and they offered to fill all my coolant tanks after I move the machines to try so I haven't been able to do a time study on tool life. They were talking about how their product is a Ester based oil as opposed to most of the mineral oil based that are around. It was a neat litle presentation especially when they hooked up a high speed camerra under a microscope to show chip forming on a endmill.
-
Have you tried to open one of your x7 files that you used the custom tools you lost to go into the operations manager and try to open it and save it back to your new tool library?
-
I have cut a lot of invar 36 and 42 which is a nickel based alloy (but only 36% and 42% nickel no where close to the 75% you are dealing with). I got the best results using hss corn cob roughers to cut it. The invar is very toxic to machine I would look into safety data and see what type of ventilation or respiratory protective equipment you would need to cut it.
-
I am going to take a magnetic base off a plunger dial and machine the OD down. I just don't know where I would start speeds and feed wise and what type of tools I should be using (carbide,hss,ceramic etc). I also have a sink edm if burning it would be better. Any suggestions on how to go about this?
-
Dormer Hydra Drills
within a thou replied to within a thou's topic in Machining, Tools, Cutting & Probing
i would love to try these drills but I am using a tooling certificate that came with the new machine purchase and unfortunately they don't carry sumitomo . What I liked about that drill is the inserts are the same and there is 4 cutting edges for each insert where as the perfomax has 4 sides on the inside insert and only 2 on the outer. -
Dormer Hydra Drills
within a thou replied to within a thou's topic in Machining, Tools, Cutting & Probing
The Seco drills i use are the perfomax. Find they don't come close to what they recommend but good edge life insert wise. Not a fan of 2 different inserts either. The mitubishi ones I had at my last shop were a lot better. I haven't tried seco's crownloc. I had a rep from Sandvik in the shop friday showed him the products I will be making on the new lathe and am having him put together the best tooling solution for us as we speak. Need to get a mitsubishi rep in here to do the same. -
Custom Macro B Programming
within a thou replied to cncchipmaker's topic in Machining, Tools, Cutting & Probing
Does anyone know if it is possible and if it is how you would go about writing a macro That if you had staged tools where each time a tool breakage or wear automatic tool change to the next identical tool that it would count it and everytime a certain number of these took place that it would count and when it reached a certain number it would then notify me. Its for a Okuma OSP P200L control. Basically what i am trying to do is count my insert changes to know when I need to order more inserts. -
Don't blame him he just has a slow internet connection.
-
Dormer Hydra Drills
within a thou replied to within a thou's topic in Machining, Tools, Cutting & Probing
I will definitely look into those. the Dormers may last longer but longer then a pack of inserts? Just can't see the added speed gained minus the fewer parts per insert would equal a better cost per part. -
Has anyone used these before? My tool supplier has a promo where if you buy either 4 or 6 heads (depending on the drill size) they throw the cutter body in for free. Problem is one dormer insert is the price of a pack of inserts for a seco perfomax or sandvik coromant u drills. These will be used on a new lathe and bar feeder I have coming as soon as it clears customs that will just run high volume production so I don't mind spending a bit more if I can get the results but this is a bit nuts.
-
I use this gives you the option to save videos or screenshots or automatically upload as a url. http://www.techsmith.com/jing.html
-
Check to see if your door interlock is working properly it may be limiting the speed of the machine because it thinks the door is open.
-
english to metric for single point threading
within a thou replied to BrianP.'s topic in Industrial Forum
Leave the G20 in your safety line. Add a G21 before your tap cycle. Feed in IPR. Put a G20 before your M30 change your z to something safe hit start. You will see if the thing is feeding at .500" ipr as opposed to the .0197" ipr. You can also watch your current commands to see if the G20 modal changes to G21 and then back just by watching the control screen. Now you got me wondering next time my machine stops I am going to check myself. Its actually a really good idea if it works since it will be one less calculation that will need to be made and it also puts the proper pitch that will be the same that is written on the Tap to help out operators. But the .00002 pitch error would never matter you would never be able to thread it deep enough to cause enough error. -
Can your machine use negative offsets? If so I would just stick with G41 and forget about G42. Now when you select your chain pretend your sitting behind the arrow as if you were in a car. A positive offset will move you to the right (plus stock) a negative to the left (less stock). And Del I have to agree with you on that one if your machine automatically adjusts for the over burn why would someone want to use a third party product to over ride what the machine was designed to do?