-
Posts
4,188 -
Joined
-
Last visited
Content Type
Profiles
Forums
Downloads
Store
eMastercam Wiki
Blogs
Gallery
Events
Posts posted by Thee Rickster ™
-
-
I'll strap ya both newbeeee.... Lol
Gcode has a way but a few more steps then opening up on say level 300 ..... Plus..... Then moving them.
Once I'm done training my new programmer I won't have to worry about it very often. But I like how CNC first copied Space claim's way of working with solids in X8 and x9 then completed copied space claims interface in 2017.
.gif)
As you can tell I use space claim exclusively for designing molds...
.gif)
-
 1
1
-
-
So my only work arround is to bring them in
at the bottom of my level manager where they won't
over write my existing levels names.
Does seem odd they wouldn't just put a check box
to keep the old way everyone was used too.
-
Good day ppl.
I am having troubles figuring out how to have the level manager
do things the way it did in X7.
For instance. I would start an engineering change or replace one or more solids
then import the new ones.
In the pics i import a parasolid file with many solids in it.
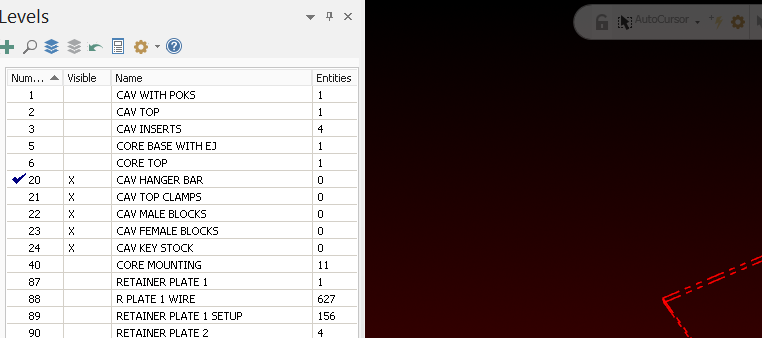
The old way when you left your screen empty of entities, i would import, see all the
new solids then select all and put them in one level.
Then i could move the different components to their designated levels.
and they would still have their separate colors.
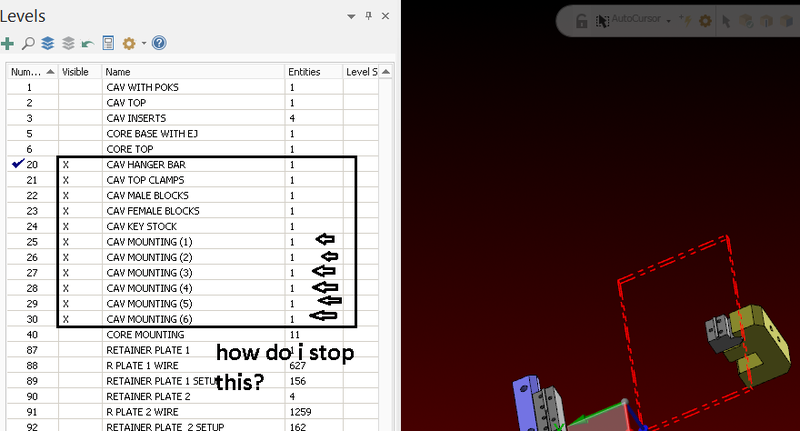
When i merge them now, if i don't select 'use current attributes', they come in with
the different colors but it adds all these new unwanted levels??
If i click 'use current attributes' it puts them on the current level,
changes them all to the current color, and i still get all these extra unnecessary levels??
.
.
after
.
.
Is there any way to achieve what I would like it to do?
in the solids manager i cant find 'clear all face and feature colors' either?
Any help will be greatly appreciated
cheers
rick
-
 1
1
-
-
Ok.
For those who picked a shared directory on install 2017
(this was the first time i did that)
here is how my IT guy solved it
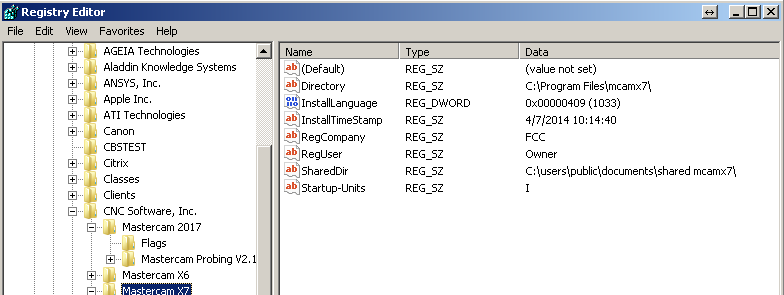
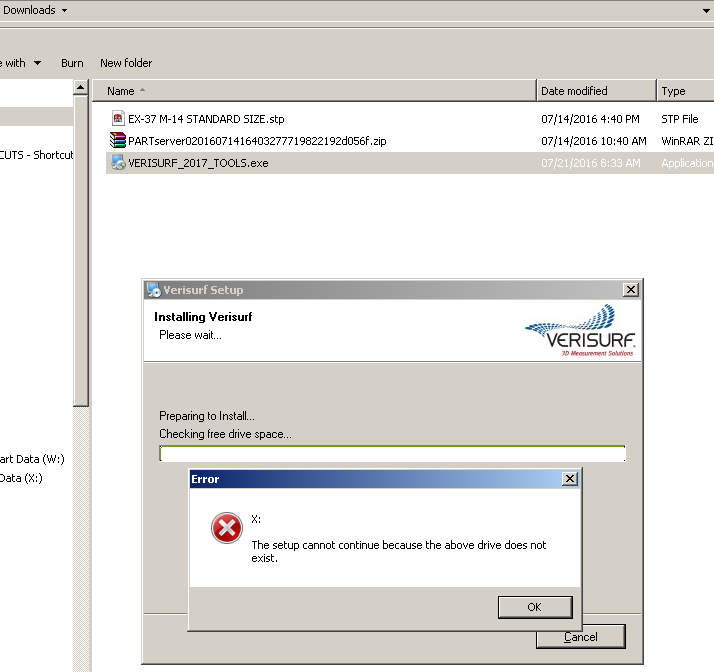
My IT guy, changed the shared directory in the registry to C: drive then installed
verisurf.
then changed it back to the X: drive and it worked like a charm
-
-
Got it, thanks!
-
Can you add 'arc multi edit' to your right mouse button?
Does any one know which category it is in?
Its in the Run Add-in...
-
 1
1
-
-
-
OK, does this look right?
Looks like its going to my MC shared folder on X:
thats where i told MC to go for when I migrate or update folders
I have not migrated or updated any thing yet
the shared folder is on X:
the name of the folder is just a folder My IT guy created so I
have a folder on the sever to put stuff in like my shared MC folder, tool libraries etc.
i just happened to call it NCI Files.
.
-
-
Can you drag files onto the screen instead of import?
-
-
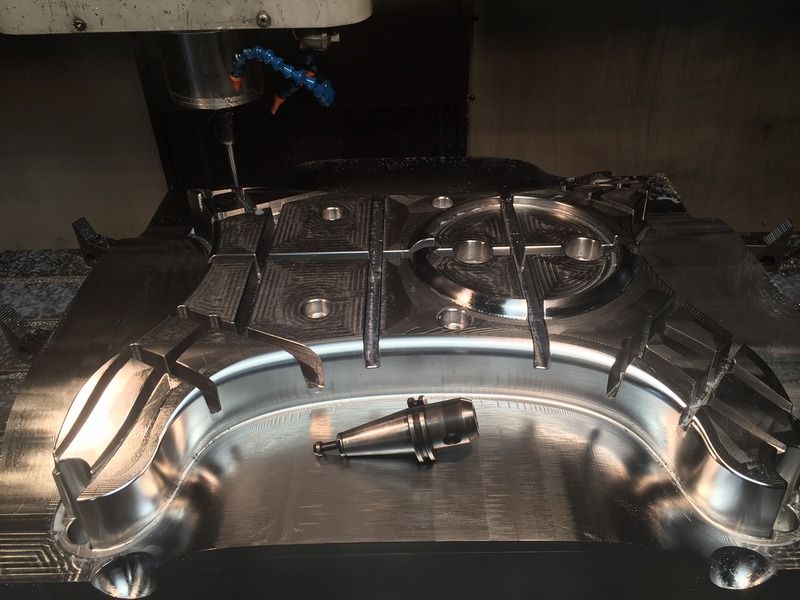
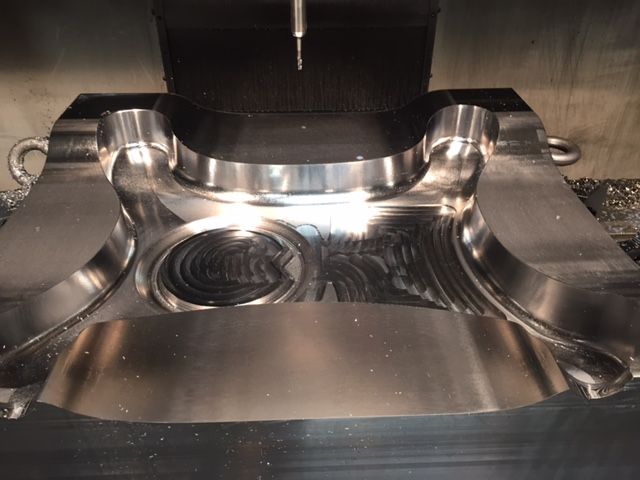
Almost finished
Just roughing and semi finishing the 3" deep ribs
I'll shoot a pic later today
I go on vacation tomorrow!
-
If you are saving to a network, thats your problem.
If you save to your desktop, what system specs are you running?
I am working on a file that is 675meg and growing, 20 different solid.
bunch of STL stock models, it takes a minute to save on our upgraded fast network
At home on my desktop about 10 seconds
-
although not ideal it's a common practice. i try to use swivel eye bolts as much as possible but they're not always available when needed. a little common sense goes a long way. if the handling holes aren't deep enough to shoulder the bolt against the material, shoulder a nut against the head of the bolt so it can be shouldered on the material. most importantly, always, always, always have an escape route!
hole were tapped 2-3/4" deep, full length of eye bolts
washers were used to make sure they were shouldered to the block
fork lift set it on table, no one was endangered on this endeavor.
.gif)
-
Question: Are those lifting eyes I see on the sides, if so, did you lift that part pulling sideways on them? (DANGEROUS IF SO) IMHO
Not sure what you mean exactly by pulling sideways.
There is 4 of them they are 1-1/2" thread, rated a 10000lbs each
block was 4500 lbs before cut
Only lifted all 4 straight up and set in on table.
I've seen larger blocks (4' x 4' x 10") with only 1' eyebolts using 2 to flip
the block, at a different mold shop.
Plus we sent two maintenance guys to a class for this
and they did it...
.gif)
-
-
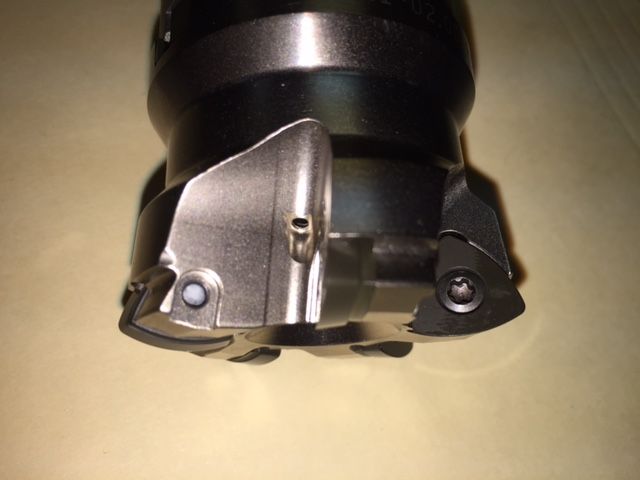
I'm getting 1-1/2 hr
That's -.210" z drop before turning inserts @.035 DOC
.gif)
-
lights out? high feed? P20? we wouldn't even do that on the big horizontal where gravity takes care of the chips.
i program tool retracts (spindle + cooling off / z axis home / program stop) for insert inspection (tool inspection / change feature on tool param page in Mastercam) for every 30 minutes to deal with chips and check inserts. 1.5 to 2 hour insert life is fairly conservative. 45 minutes to 1.25 hours is fairly aggressive. in my opinion. all night? no freakin' way! ymmv.
Update
i told them not to dream any more and let me and the skilled colleages
that are helping me get through this.....
Just stopped it to get the chips off the way at back of machine
i was at z level -.175 bout half way through the lvl
I checked the inserts, would have just made it through that level
So, that is my number and i will program .175 at .035 DOC for each insert change
Cheers
-
 1
1
-
-
Cool, thanks a ton!
It seems happy, although this is an old non-rigid VF6 so the spindle load is
jumping around over 100%
I increase the RPM to 1050 , seems happier...
.gif)
This machine has a brand new spindle as of a month ago.
.gif)
I am using a .625 entry helix, seems ok
Might have to cut the feed down a bit....mayberto 100ipm
and my bosses are trying to talk me into lights out for the entire path on
one set of inserts....14hr path...i shake my head when they get involved......
I programmed to 1" deep, I will watch it untill the inserts give out
see what level i am at and program 80% total depths at a time.
Cheers
-
-
i've been carving molds out of P20 for 1/4 of a century therefore my experience trumps HSMAdvisor.

leave. it. alone. , Reko!

That is what i like to hear.
i used this info and got through the drilling no problem
Next question for Roughing.
I am awaiting on a 2" high feed cutter(Eta 1hr) i'll get exact details shortly
Looking for speeds, feeds, DOC and Step over.
I have to design and program 4 or 5 on graphite molds while i keep this P20
progressing.
I apologize for late replies as i am on 14 hr shifts of madness....LOL
Thanks in advance for all help.
When I get through this job it will start a new avenue of p20 permanant mold
and casting at our shop
I greatly appreciate Everyone help
BTW I am cutting the cavity first so all the major drilling is on the Core base which i will hopfully
start at the end of next week
About 3" reach on the cutters for this cavity
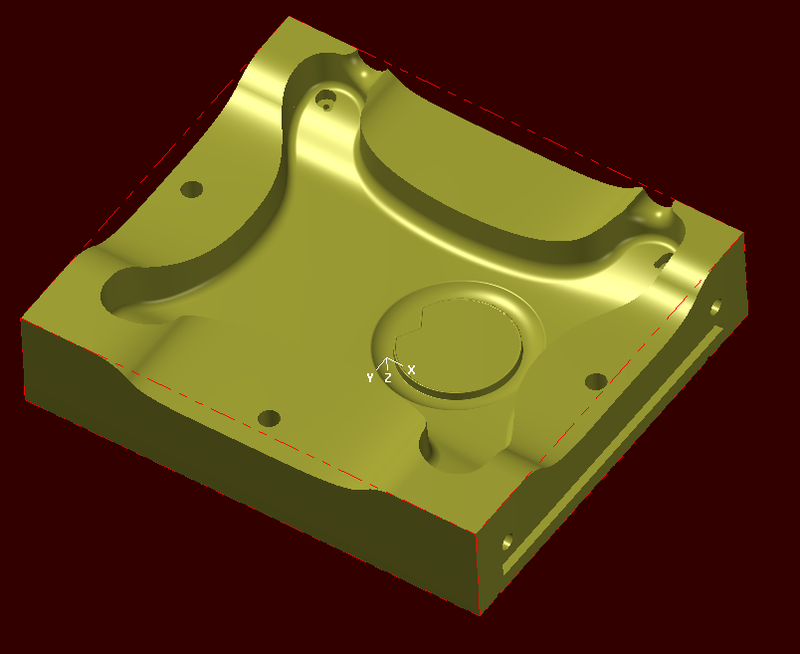
36" x 32" x 8"
.
-
Good afternoon
Does any one know a good online speed and feed calculator for
drilling P20 with High Speed Drills 5- 8 inches deep?
Our shop has moved on to also making P20 steel molds now and
I have only made a few Cast Iron Molds many many years ago.
Any help will be greatly appreciated
Cheers
rick
-
I'll do it for $$$, pending how many you have to convert
.gif)




2017 colors not sticking
in Industrial Forum
Posted
so far so good here.