Craig-B
-
Posts
437 -
Joined
-
Last visited
-
Days Won
1
Content Type
Profiles
Forums
Downloads
Store
eMastercam Wiki
Blogs
Gallery
Events
Everything posted by Craig-B
-
Method for calculating workoffsets for 4th axis?
Craig-B replied to Sticky's topic in Industrial Forum
I set X and Z to pallet center and Y off the pallet surface and calculate my G10 offsets from there. -
In the cimco editor under setup there should be a menu that says show toolbars and you just check the ones that you want.
-
It depends on who I have to build the machine for and what they have available, some I have done some with tape measure, models from online cad forums, or if you are lucky the machine tool builder. Some builders will give you the models if you sign a NDA, and others will charge you.
-
What version are you running? It should be under setup.
-
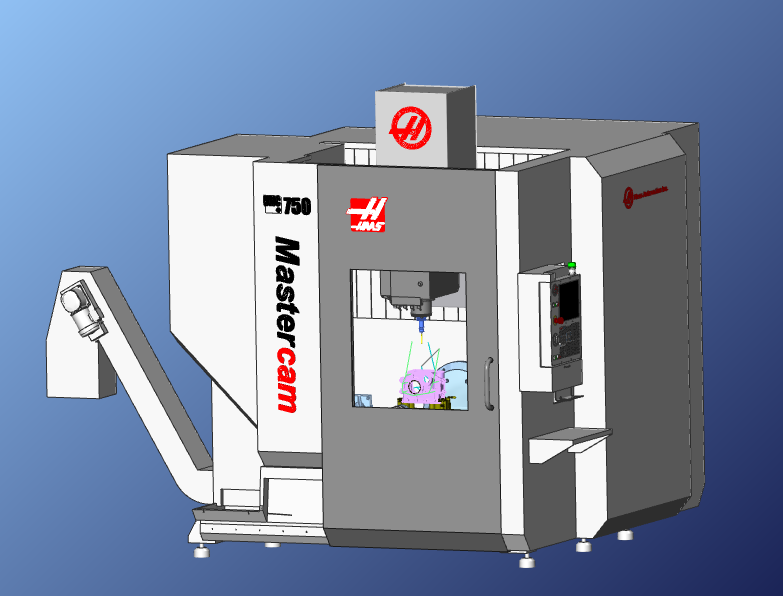
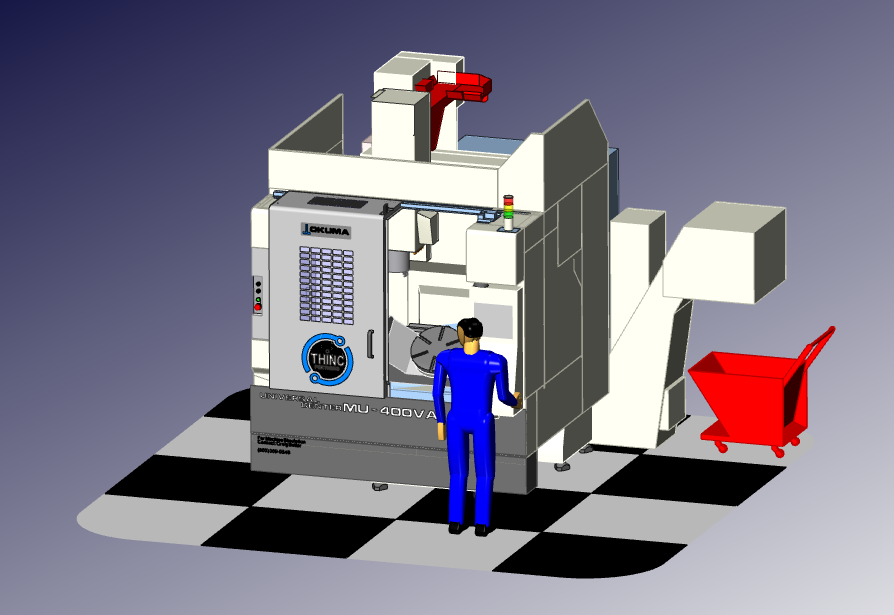
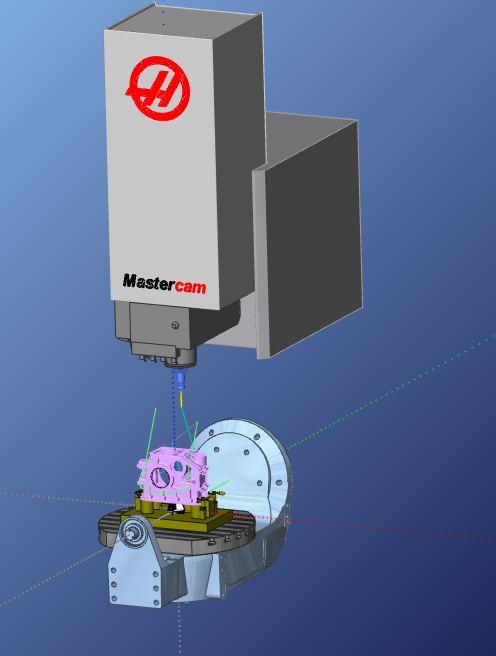
I have been doing a lot with it here recently, works good, this is a few of my most recent machines.


-
Custon cycles and pst modification
Craig-B replied to Hertz's topic in Post Processor Development Forum
If you are useing X style coolant to have it output on a line by it's self set to on and before. This should output to a line by it's self like the following Start M8 M7 M88 M8(Coolant4=ON) M8(Coolant5=ON) End M9 M9 M89 M9(Coolant4=OFF) M9(Coolant5=OFF) Look for this section in your post. # -------------------------------------------------------------------------- # Coolant output code selection for X style coolant # Note: To enable X style coolant, click on the General Machine Parameters icon # in the Machine Definition Manager, Coolant tab, disable first check box # Output of X style coolant commands in this post is controlled by pcan, pcan1, & pcan2 scool50 : "M8" #Coolant 1 on value scool51 : "M9" #Coolant 1 off value scool52 : "M7" #Coolant 2 on value scool53 : "M9" #Coolant 2 off value scool54 : "M88" #Coolant 3 on value scool55 : "M89" #Coolant 3 off value scool56 : "M8(Coolant4=ON)" #Coolant 4 on value scool57 : "M9(Coolant4=OFF)" #Coolant 4 off value scool58 : "M8(Coolant5=ON)" #Coolant 5 on value scool59 : "M9(Coolant5=OFF)" #Coolant 5 off value scool60 : "M8(Coolant6=ON)" #Coolant 6 on value scool61 : "M9(Coolant6=OFF)" #Coolant 6 off value scool62 : "M8(Coolant7=ON)" #Coolant 7 on value scool63 : "M9(Coolant7=OFF)" #Coolant 7 off value scool64 : "M8(Coolant8=ON)" #Coolant 8 on value scool65 : "M9(Coolant8=OFF)" #Coolant 8 off value scool66 : "M8(Coolant9=ON)" #Coolant 9 on value scool67 : "M9(Coolant9=OFF)" #Coolant 9 off value scool68 : "M8(Coolant10=ON)" #Coolant 10 on value scool69 : "M9(Coolant10=OFF)" #Coolant 10 off value scoolantx : "" #Target string fstrsel scool50 coolantx scoolantx 20 -1 # -------------------------------------------------------------------------- -
Custon cycles and pst modification
Craig-B replied to Hertz's topic in Post Processor Development Forum
I would suggest you ask a specific question here about post there are a lot of guys here that can help you. Or take a online post processor class at E-apprentice http://www.eapprentice.net/ -
Method for calculating workoffsets for 4th axis?
Craig-B replied to Sticky's topic in Industrial Forum
It may be a little different for your post, but this way the offset that is output as the G10 is calculated from the pallet centerline and pallet surface. Add this near the format section # -------------------------------------------------------------------------- # Custom / NC output Variable Formats for G10 work offsets # -------------------------------------------------------------------------- fmt P 4 pnum #G10 P Number for work offset fmt P 4 plnum #G10 P Number for extended work offset fmt X 2 tox$ #G10 work offset X position output fmt Y 2 toy$ #G10 work offset Y position output fmt Z 2 toz$ #G10 work offset Z position output # -------------------------------------------------------------------------- Add this at tool change and Null tool change pbld, n$, "G10", p_num, *tox$,*toy$,*toz$, "(WORK OFFSET ROTATION)", e$ Add this near the pwcs section #------------------------------------------------------------------------------ # WKORK OFFSETS G10 OUTPUT #------------------------------------------------------------------------------ p_num #G10"P" Number if wcstype = two | wcstype > three, [ pnum = workofs$ if sav_mi8 = 1, workofs$ = sav_pnum ] if pnum < 6, [ pnum = workofs$ + 1 "L2", *pnum ] else, [ plnum = pnum - 5 "L20", *plnum ] #------------------------------------------------------------------------------ -
Method for calculating workoffsets for 4th axis?
Craig-B replied to Sticky's topic in Industrial Forum
Its several ways to do it, this is one of the easiest if you prefer having the system keep up with the origin. If you set it up in Mastercam with the center of rotation like it is on the machine, This method you will have to change your post to output the tool plane origin (tox, toy, toz) in a G10 format at tool change and null tool change, you will end up with the new tool plane origin every time you rotate. this way you can keep the same workoffset number for each part as you rotate and use the same part zero as you rotate. Example: This is machining load 1 G54 at B315., then machine load 2 G55 at B45. and B225. N38T9038(INSERTED MILL) M6 G10L2P1X8.086Y16.677Z-.73(WORK OFFSET ROTATION) M11 G0G90G54B315.M8 M10 G0G90G54X.2854Y1.7016S1653M3T9009 G43H99Z5.0025 G1Z4.9025F13. Y.7567F26. Y-.3308 X1.8602 Z5.0025 G0X.2854Y1.7016 G1Z4.88F13. Y.7567F26. Y-.3308 X1.8602 Z4.98 G0Z5.0025 Z6.88 Z12. G10L2P2X-8.081Y16.77Z-.326(WORK OFFSET ROTATION) M11 G0G90G55X-1.6113Y-2.8191B45. Z.833 M10 G1Z.733F13. X-.6664F26. Y3.5261 Y4.471 Z.833 G0Z2.833 Z12. G10L2P2X8.081Y16.77Z.326(WORK OFFSET ROTATION) M11 G0G90G55B225. M10 X.6664 Z.407 G1Z.307F13. Y3.5261F26. Y-2.8191 X1.6113 Z.407 G0Z2.407 M5 G0G91G30Z0.M9 G0G91G30X0.Y0. M30 -
I think Spaceclaim will do it try a trail http://www.spaceclaim.com/en/trial.aspx
-
Sh400 60 pots

-
Sounds like you need to name pot 60 on the control it must be set to 0 instead of 60 do you know how to register tool pot on your control. On my older machines that have 60 pots I name pot 60 to 999 for the probe that way that pot is unique, so if you call up a old program that runs pot 60 it will say Improper T-Code Specified.
-
Oh you are missing a pot a 60 tool mag has 60 useable pots in it, I would contact Ellison about that I have a NH5000 with 120 pots and I actualy have 121 in the mag and the same for my NH4000 with 120 pots. My older SH400 has 60 pots and 61 in the mag. I really think you are missing a pot I would jog the mag and check, Also check the control may be a pot is not named.
-
Try This Macro, Note: It was made for a Mori Seiki with Fanuc Control Some Mori Seiki have a Mitsubish Control. This will help only if you have more tool offsets on the machine than you do tool pots. Do a M33 to empty the spindle then a M100 the machine should move the spindle to the door to manualy change the tool. % O9001(MANUAL TOOL CHANGE MACRO) (SET PARAMETER 6071 TO 100) (USE M100 IN MAIN PROG.) G0G91G30Z0. G0G91G30X0.Y0. IF[4006EQ#20.]GOTO20(SKIP METRIC MODE) N21(MANUAL TOOL CHANGE POS. METRIC) M9(COOLANT OFF) M51(AIR BLOW ON) G04X2.5(DEWELL) G0G90G53X-630.Y0.(POS. FOR CHANGE) M5(SPINDLE STOP) M59(AIR BLOW OFF) M19(SPINDLE ORIENTATION) M00(STOP) GOTO3(SKIP INCH MODE) N20(MANUAL TOOL CHANGE POS. INCH) M9(COOLANT OFF) M51(AIR BLOW ON) G04X2.5(DEWELL) G0G90G53X-24.8Y0.(POS. FOR CHANGE) M5(SPINDLE STOP) M59(AIR BLOW OFF) M19(SPINDLE ORIENTATION) M00(STOP) N3(END SKIP) M99(END OF PROG.) %
-
Try Right clicking and open the tool manager, then unselect the filter and see if a tool with the same number is already in the part tools or the libary.
-
It would be nice to be able to do that with the Holder as well. No option to import the holder as a DXF or from a level.
-
KME 5ax Tombstone
Craig-B replied to Eric@HorsepowerInc.'s topic in Machining, Tools, Cutting & Probing
By program it has a feed back to the control if you give it a (DPRNT P0) It will wait until it gets the signal of completion, or if you give it a (DPRNT P1) It will index without waiting. so you can control the positioning of the other rotaries while working on one. Note: The control box doesn't not need to be programmed it just sends the programmed angle via RS232 to the rotaries. They function by the angle you send in the (DPRNT) statement. KME rotary fixtures are unique as for the rotation in this aspect. Some other companies you rotaries only function by the (M-code) and you have to program the control box with the indexes. If your rotary only works with the (M-code) a macro will not be any help with your rotations. -
I’m onboard with that as well
-
KME 5ax Tombstone
Craig-B replied to Eric@HorsepowerInc.'s topic in Machining, Tools, Cutting & Probing
I just got 4 of them in my shop, they work as describe you can rotate each rotary independent of the other which is a nice feature. You can buy them custom with the rotaries however you want your fixture, if the standard don’t fit your needs. Note: It is not a true 5 axis but you can rotate and machine at the same time. It takes 3 sec to index 90 degrees and 350 foot pounds of force will move the alignment off of C0. I have had a few glitches with the control box freezing during setup and I have to cycle the power or Shuttle my Pallet to clear it. But not running. Its programmed with (DPRNT) statements and that can be a lot of code when you have a lot of indexes, so I wrote a macro sub. I also created a option in my HMC post to output the code as a (DPRNT) or a (Macro Sub) in the Misc. Integer/Reals (KME Rotary Axis Number/ KME Rotary Position) Example: Rotate 1 & 3 to 90 degrees and 2 & 4 to 45 degrees DPRNT[C1*90] DPRNT[C2*45] DPRNT[C3*90] DPRNT[C4*45] M21 G4X500 With a macro Example: Rotate 1 & 3 to 90 degrees and 2 & 4 to 45 degrees G65P1234R5C90.0 G65P1234R6C45.0 -
Using the Stock Model in Multiple Operations.
Craig-B replied to Josh Kinney -Elite Engineering's topic in Industrial Forum
Nice work Ron, I see you pushing the limits of machine sim. -
Duravertical 5100 opinions
Craig-B replied to Marshal's topic in Machining, Tools, Cutting & Probing
The Dura Vertical, is a good machine, I have one that runs 116 hours a week doing heavy milling now for 5 years now. It was built in japan and came out before the all the DMG stuff that would be the DMC 1035 V ecoline, I cant speake for them. -
How do most of you guys work with old files? 1. Do you upgrade every file with each new version of MasterCam? 2. Do you re-create the job in the new version? 3. Or do you keep a old copy of each MasterCam and a old computer.
-
I use custom tool all the time, with no problems, I dont know of any bug.
-
Look for something like the following in your toolchange section and move it up after the G56 line in the post. Remember to save a copy befor you start to edit. This may also need to be moved at start of file and null toolcgange depending on your post. c_mmlt$ #Multiple tool subprogram call c_msng$ #Single tool subprogram call
-
Download the 3D solid, translate it to the top view then create a turn profile. This will give you clean 2D geometry profile to use as custom tool.