crazy^millman
-
Posts
19,583 -
Joined
-
Last visited
-
Days Won
359
Content Type
Profiles
Forums
Downloads
Store
eMastercam Wiki
Blogs
Gallery
Events
Everything posted by crazy^millman
-
Yes that is what one customer has done for a couple years now and they are lucky they kept their other sims to program with or they would be dead in the water. Making rethink my triple boot setup on this computer. I was heard a rumor the old sims can be reactivated if needed so might pull it out of moth balls and see about switching back after this. I don't normally travel with my personal sim to customers out of fear of losing it, but have to rethink that also.
-
Offical resposne.
-
Have a few customers down right now because of this issue. I almost shipped my personal sim to one, but then thought better of it.
-
Nothing ventures nothing gained and the idea is yes you getting into the sweet spot of the tool by using what the advisor comes up with.
-

Haas probe for flatness in Z axis
crazy^millman replied to david's topic in Machining, Tools, Cutting & Probing
The cycle itself is what you want to use and define the tolerance inside of the macro when called. HAAS is good about having the documentation online, but on this they seem to fall short. HAAS WIPS -
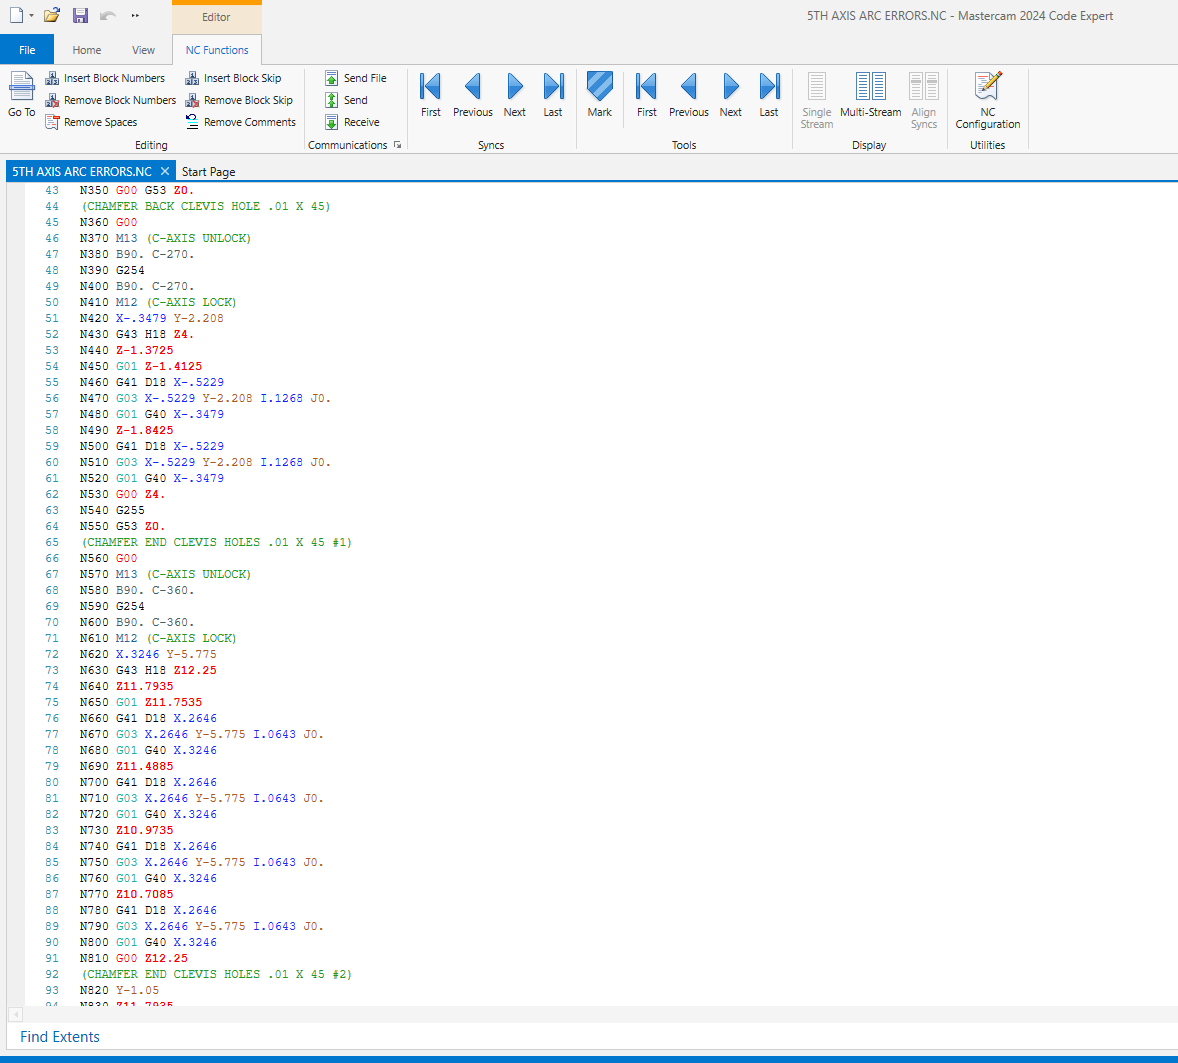
I normally create extra spaces and use that as place holders or even use the line count next to the NC Code lines.
-
Do you mean SYNC Points?
-
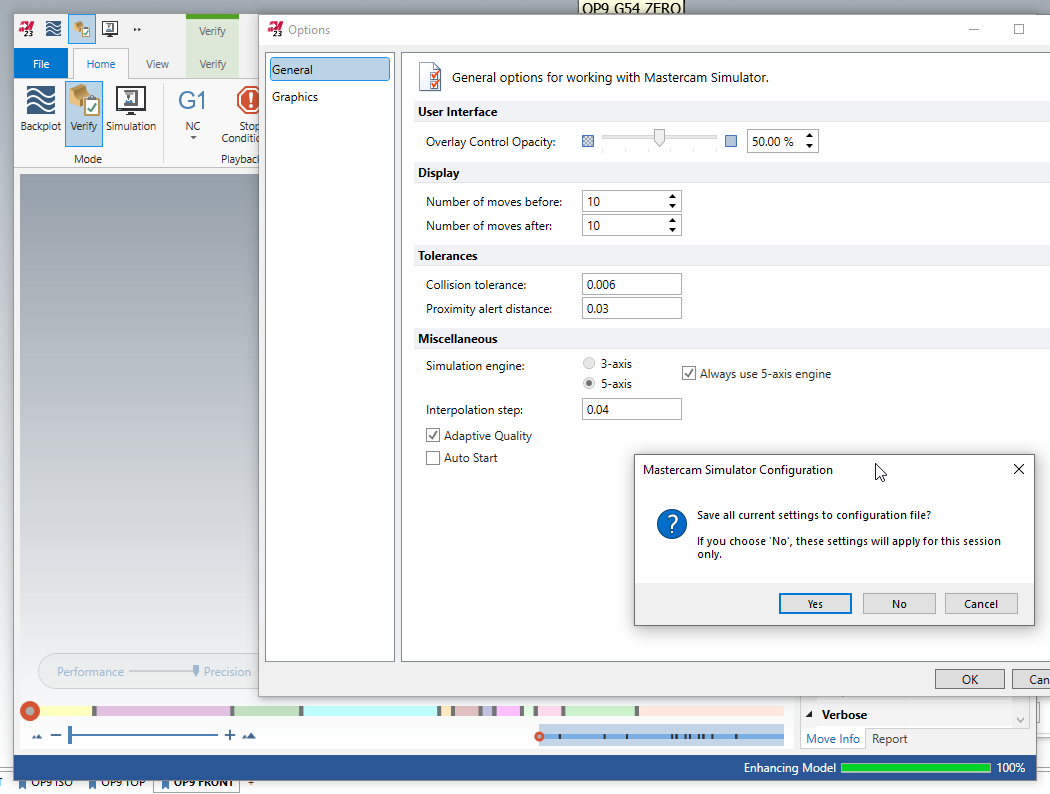
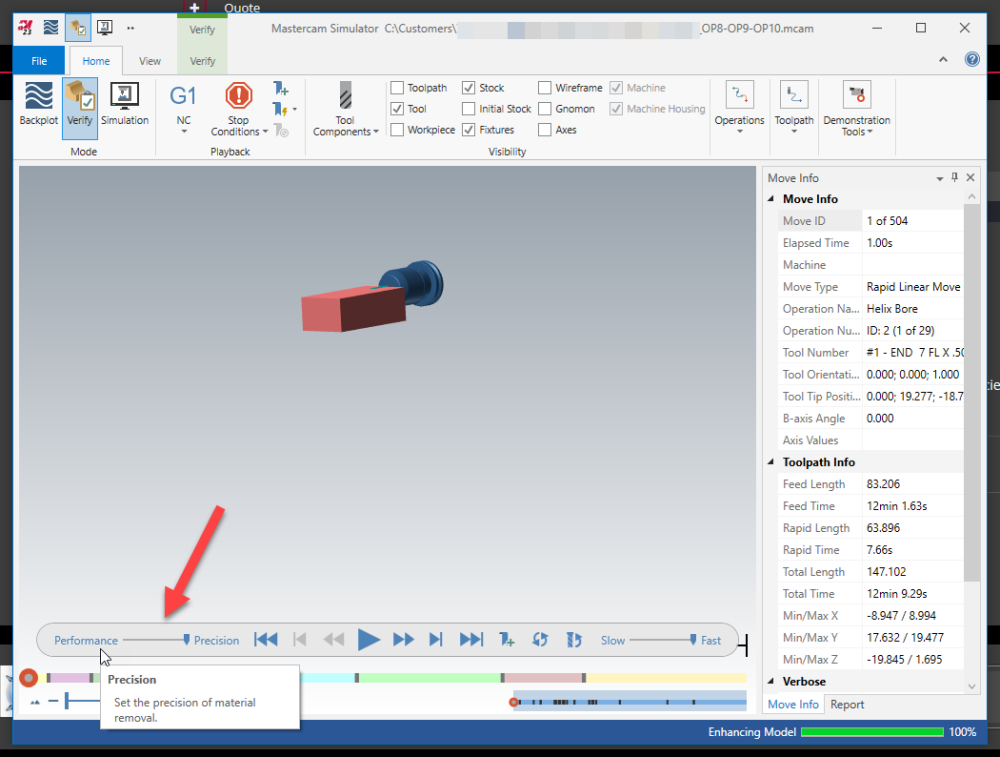
He was talking about in the Verify Window not in the Mastercam session. Another thing Precision is control here not what you were showing. That will not be something that requires saving and where having that in the QAT for Verify is helpful.

-
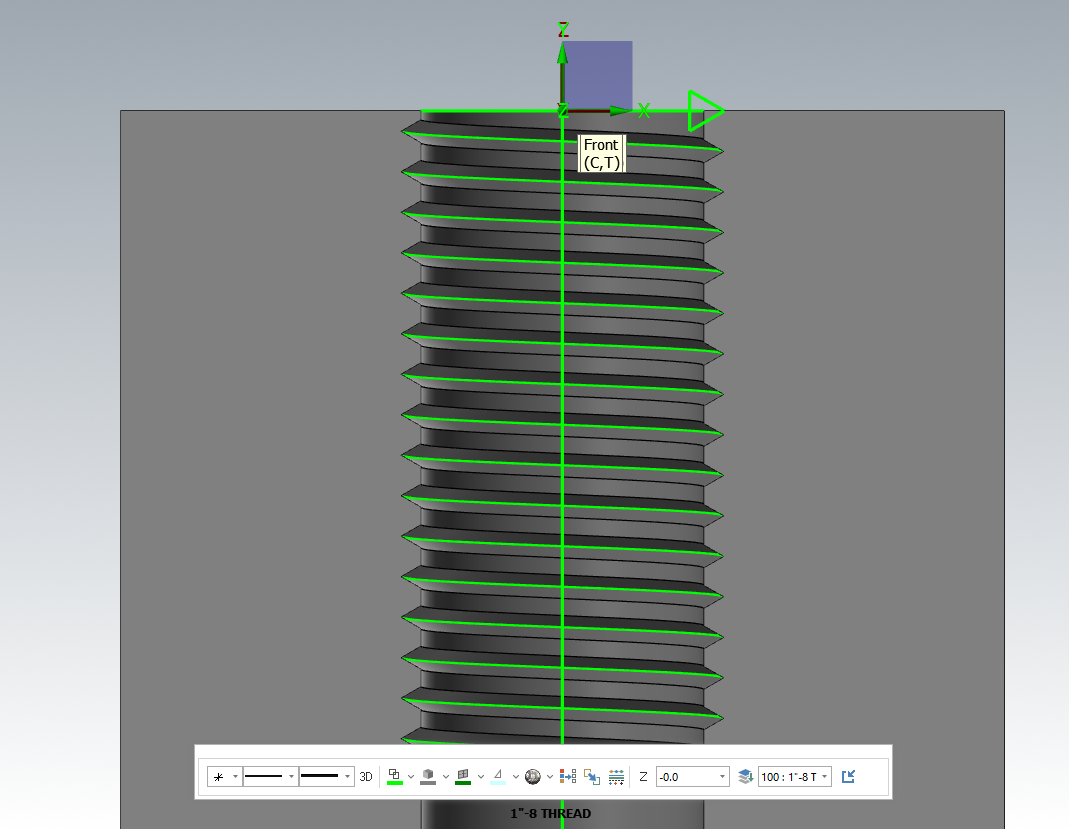
I have made parts that have had specific features timed to threaded features like spray nozzles and other things. I agree with JParis 95% of the time I strip out all the threads to make the file lightweight. The 5% of the time I leave it for those picky customers that will refuse to run job if they don't see the threads in the setup sheets and Mastercam file. Yes they are some of the shops that have union employees. They can refuse to run a job if there is a spelling mistake or other things that have no bearing on setting up and running the job, but because they are looking for ways to not work and get paid no matter what they are looking for these things to justify their $65 to $70 hour pay.
-
Parameters for different materials
crazy^millman replied to Metals and materials's topic in Industrial Forum
LOLOL sorry I had to laugh when I read that, but yes that is part of their testing. Read up on perfect heat zone for coatings and materials. The real science that goes into coatings and other things is something I geek out on. -
It was answered on the official forum. Here is the response over there. Solid ID example

-
Parameters for different materials
crazy^millman replied to Metals and materials's topic in Industrial Forum
Yes seems millions of dollars get lost using that principle over the years. I tell all customers running hard metals in a production setting to think of the 80% rule when it comes to running the tools. To many think they need to get that last 20% out of a tool and then it breaks scraps a part and they end up loosing up 100X the cost of the tool trying to cheap out getting that extra 20% out. -
I use to drive all my co workers crazy saying its proper name when I lived in Jacksonville Florida 25 years ago.
-
Parameters for different materials
crazy^millman replied to Metals and materials's topic in Industrial Forum
SFM and Chip load per tooth are part of the equation. Setup, Holder and rigidity of the machine are other factors. I have run machines at 1200 ipm, 24,000 rpms removing 180 cubic inches a minute of material. I have run electrode machines at 45,000 rpms with a .01 ball endmill at 200 ipm. I have used 80,000 rpm speeders to run a .002 endmills in aluminum to do some engraving at 10 ipm. I have run 36" diameter 60 insert face mills at 4 ipm and 20 rpms. I have turned parts down to .003" in diameter up to 20 foot in diameter. The point is there is no one size fits all in the profession. You need to take so many factors into consideration hard to say how fat you can push your specific tool on your specific machine that that specific material at any given time. Why we ask for a Z2G most times to evaluate your situation and then make a guess. -
Sequence numbers at tool change
crazy^millman replied to Doug Funny's topic in Post Processor Development Forum
That has nothing to do with what you're trying to accomplish. It will be in the toolchange logic for the lathe tools is only a lathe post. If it is a mill and lathe post combined then it will be in both sections like I showed in what I posted up. I suggest watching Colin's youtube videos on Post editing. You have many things to learn and understand about MP post and how the process works and what it does. -
The straight 2 flute 4" long is the problem. No where for the chips to go. I always used Aluminum uncoated endmills for machining UHMW and never had the problems they are running into. Coolant or high pressure air all the way to prevent sticking and/or melting of the material back into the cut.
-
Don't apologize he is great at asking questions and helping where he can. I am sure he is glad to be helpful in anyway. I have helped 100;s of Mastercam programmers turn that off and every single one of them has thanked me for doing so. Not sure where the feedback on this is being collected, but I imagine majority hate it and just not sure how to turn this eye sore stuff off. Uncheck stock plane and try again.
-
Sequence numbers at tool change
crazy^millman replied to Doug Funny's topic in Post Processor Development Forum
I am no one special just have 35+ years doing this is all and willing to share and try to help others as best I can. Pass it on is all I ask of anyone I train and help. -
Sequence numbers at tool change
crazy^millman replied to Doug Funny's topic in Post Processor Development Forum
Something has to define the pfn logic. In MPLMASTER there is this switch: tseqno : 2 #Output sequence number at toolchanges when omitseq = yes #0=off, 1=seq numbers match toolchange number, 2=seq numbers match tool number We then search the post to find where and how it was used: ltlchg$ #Toolchange, lathe . section not shown . section not shown . section not shown . section not shown if not(synch_flg & tool_op$ = 67), #Suppress tool output if cutoff during part xfer [ if omitseq$ = 1 & tseqno > 0, [ if tseqno = 2, n$ = t$ pbld, *n$, [if home_type = -1, *sgcode], *toolno, e$ ] else, pbld, n$, [if home_type = -1, *sgcode], *toolno, e$ ] mtlchg$ #Toolchange, mill . section not shown . section not shown . section not shown . section not shown if omitseq$ = 1 & tseqno > 0, [ if tseqno = 2, n$ = t$ pbld, *n$, [if home_type = -1, *sgcode], *toolno, e$ ] pheader$ #Start of file pheader_custom if tseqno = 1 & omitseq$ = 1, [ seqno$ = 1 seqinc$ = 1 n$ = seqno$ ] Then from there we can see what variables where defined and how we want to adapt it to the post we are using. -
Sequence numbers at tool change
crazy^millman replied to Doug Funny's topic in Post Processor Development Forum
Look at the old MPLMASTER post it has the process already defined in it. -
Sequence numbers at tool change
crazy^millman replied to Doug Funny's topic in Post Processor Development Forum
Sure. Need to decide how are going to sequence them and how you want the output to be controlled. -
What are you trying to accomplish? You can use solids for tool definitions for high feed cutters. I still stick to the traditional define as a bull endmill so my stock models and tool path calculations are lighter and smaller.
-
Parameters for different materials
crazy^millman replied to Metals and materials's topic in Industrial Forum
HSMAdvisor is what I have used for many years. -
Is that a back feed move you are choosing and seeing in the backplot?
-
Try to find a smaller tool that will still reach what you need?