jeff
-
Posts
3,904 -
Joined
-
Last visited
-
Days Won
10
Content Type
Profiles
Forums
Downloads
Store
eMastercam Wiki
Blogs
Gallery
Events
Everything posted by jeff
-
We really don't engrave hard materials, I think the hardest we do is around 45Rc or so. But these are my go-to tools. Nice and crisp @ .004" deep http://www.lakeshorecarbide.com/highperformanceengravingendmills.aspx
-
Depends on what micron your current filter has. The mfg of the spindles might have a recommended micron that is allowable.
-
Wasn't there an issue with the Quadro drivers? I seem to remember that rolling them back to a previous version solved many graphic issues with Quadros.
-
only the people who put together the demo video on FBM. I'll never use it. WAY too much work is involved, and even then I don't think it would benefit me. If it were such a great tool, they would push it and develop/update it more.
-
How fast are you tapping? I found that if you go upwards of 3,000rpm and higher it's not worth it because of that same ramp up and down time.
-
TOOL BREAKAGE ON DYNAMIC 2D FOR SOME SHAPES
jeff replied to lowcountrycamo's topic in Industrial Forum
Haven't found a workaround for it yet. Has it been logged yet? -
Okuma Guru's - I need a Probing Manual for OSP-P100M Control
jeff replied to Colin Gilchrist's topic in Industrial Forum
I think we might have the Gauging manual for our E100M, but it's in book form, not a digital copy. Is there something specific you need? -
Okuma Guru's - I need a Probing Manual for OSP-P100M Control
jeff replied to Colin Gilchrist's topic in Industrial Forum
Is that anything like the E100M? -
You're not in TOP view? Or you created a new plane without creating the relative planes for association?
-
Is top down the way to go for single profile thread mills? I'm used to using full profile thread mills from the bottom up
-
Ahh, I understand now. I try to balance the depth cuts also.
-
I don't follow you. What is at 150% ?
-
Yes, I have it entering on an arc. 1st a straight line (for wear comp), then an arc. I'll have to do more roughing passes I guess. Thanks!
-
What speeds and feeds do you guys use for tiny thread mills in A2? Using a single point thread mill for an M6x1 thread, about 1/2" deep. The first one did about 20-25 holes, broke at the shank, the 2nd did 2 holes, broke at the same spot. This is the thread mill I'm using http://www.lakeshorecarbide.com/12singleprofilethreadmill58loc160cutdiaaltinctd24-56range.aspx Material is A2 (not hardened), drilled hole is about 1/4" deeper than the thread goes. 200-250spfm, 6-8ipm. (4 flute) I think it must be my cut depths, I'm taking 1 pass leaving .005, and then 1 finish pass. Any suggestions? Thanks.
-
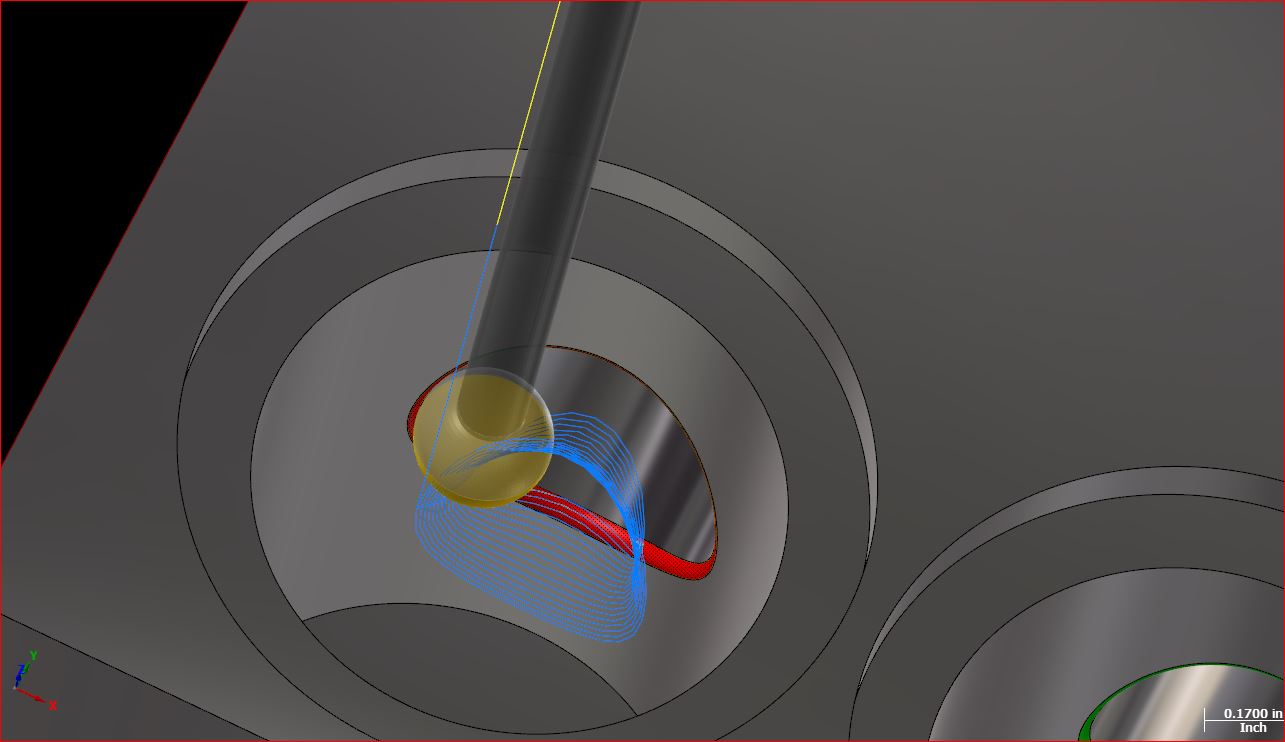
It's just a quick and dirty path, there might be some gouging, so try Check surfaces, or a different size lollipop. Maybe even try to come down thru the bore, that might give a better result. CROSS HOLE FILLET TEST (1).mcam
-
Pretty sure I saw an example of this exact type somewhere. They used a lollipop cutter coming from the top, or you could come through the bore too I would think. It may be in 2019 in the new deburr toolpath but I'm not 100% Do you have 2018? I don't have 2017 anymore. But I just created a flowline path with a .250 dia lollipop and it seems like it would do the trick

-
No idea, but here is a link to a .pdf for information: http://www.duro-metall.de/commonmedia/content/media/en/duro_metall/datenblaetter/elmedur_ha.pdf Taken from this site: http://www.duro-metall.de/internet/en/produkte/elmedur_kupferwerkstoffe/elmedurkupferwerkstoffe_1.jsp Apparently it's a hard copper alloy?
-
You have to go into your BIOS to overclock the memory. Look for SMP profile of something of that nature and change your RAM speed to what it's rated for.
-
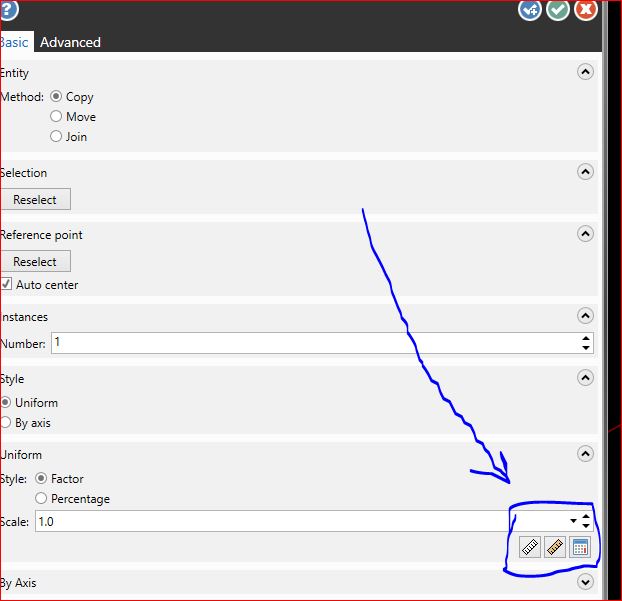
Yep, Transform Scale is what I do. Click on the middle one of these 3 circled and you're good to go.
-
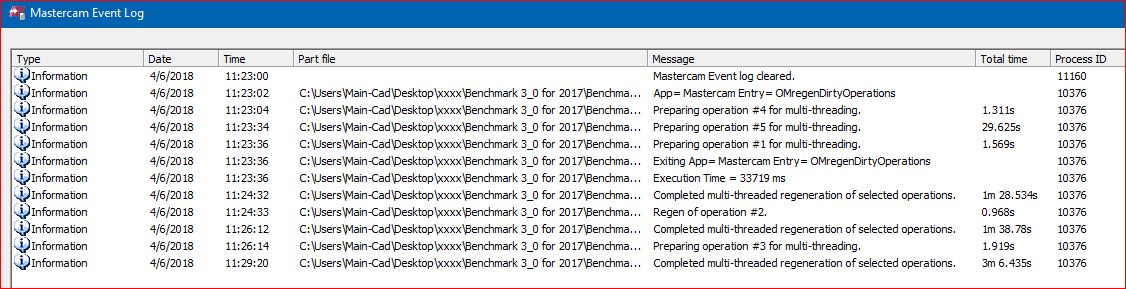
View/Multi Threading Manager/ click the ! OR Alt+M Mine is set to 4 threads, probably could have set it to 8
-
Why is that? Does it need to slowly wind down in RPM's?
-
This is with 12 tabs open in Chrome and also streaming the Masters
-
"Hide Plane Properties" button at the top. The icon looks like a small calculator.
-
What to do with pocketed characters in models to be engraved?
jeff replied to [email protected]'s topic in Industrial Forum
I used to create my own curves for models like this. Now I just chain the inner and outer edges of the existing numbers, it's much faster and no chance for fat fingering a wrong part number. Then I use a tiny engraving tool like this one and go .004" deep: http://www.lakeshorecarbide.com/singleendnano3coated20degpersidetaperedengraver020diaball2flhp-hlx14shank.aspx