Chris Bloedorn
-
Posts
52 -
Joined
-
Last visited
Content Type
Profiles
Forums
Downloads
Store
eMastercam Wiki
Blogs
Gallery
Events
Everything posted by Chris Bloedorn
-
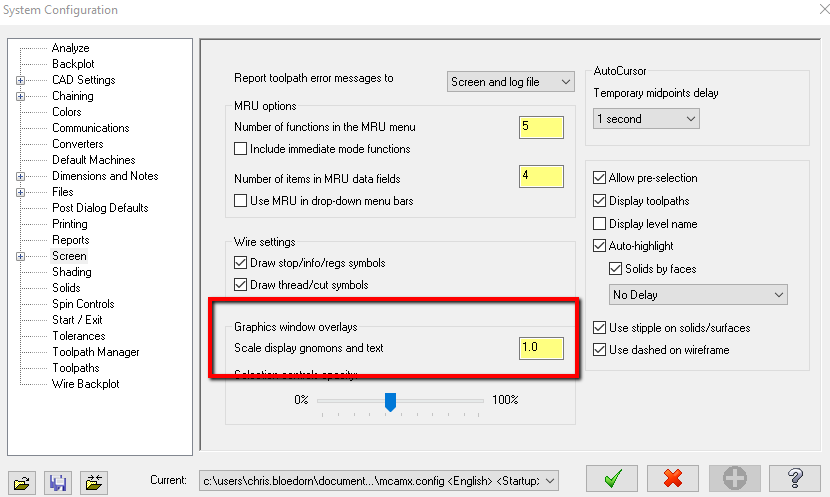
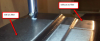
there are a couple of options you can adjust. when you customize the ribbon and go to options and set to large icons (already mentioned) and now there is a setting in File/configuration/screen....scale display gnomons and text....
-

milling a contoured thread on a rotary axis
Chris Bloedorn replied to cherokeechief79's topic in Industrial Forum
Not sure if this is what you need, but I use create/curve/flowline curve and set it to 'number'. if you set the number to 3 it will give you the centre line.... -
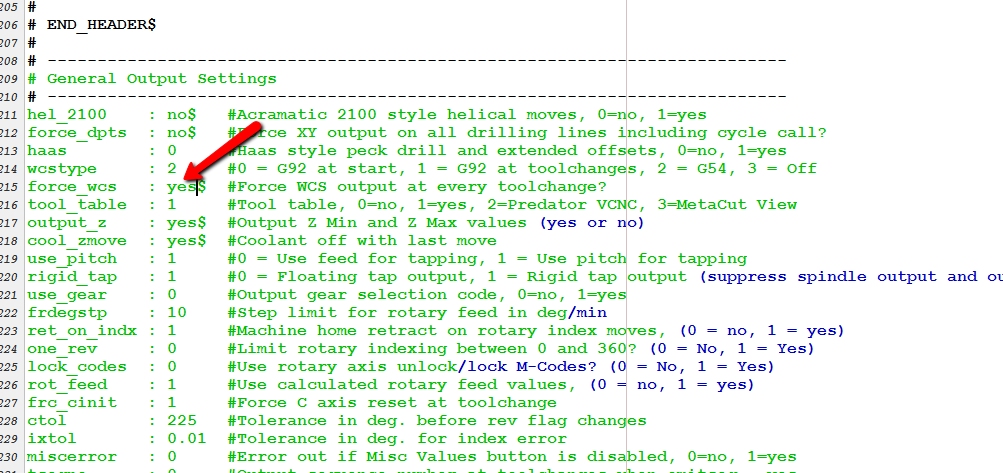
OR check the general output settings in the post....make sure force_WCS is set to yes
-
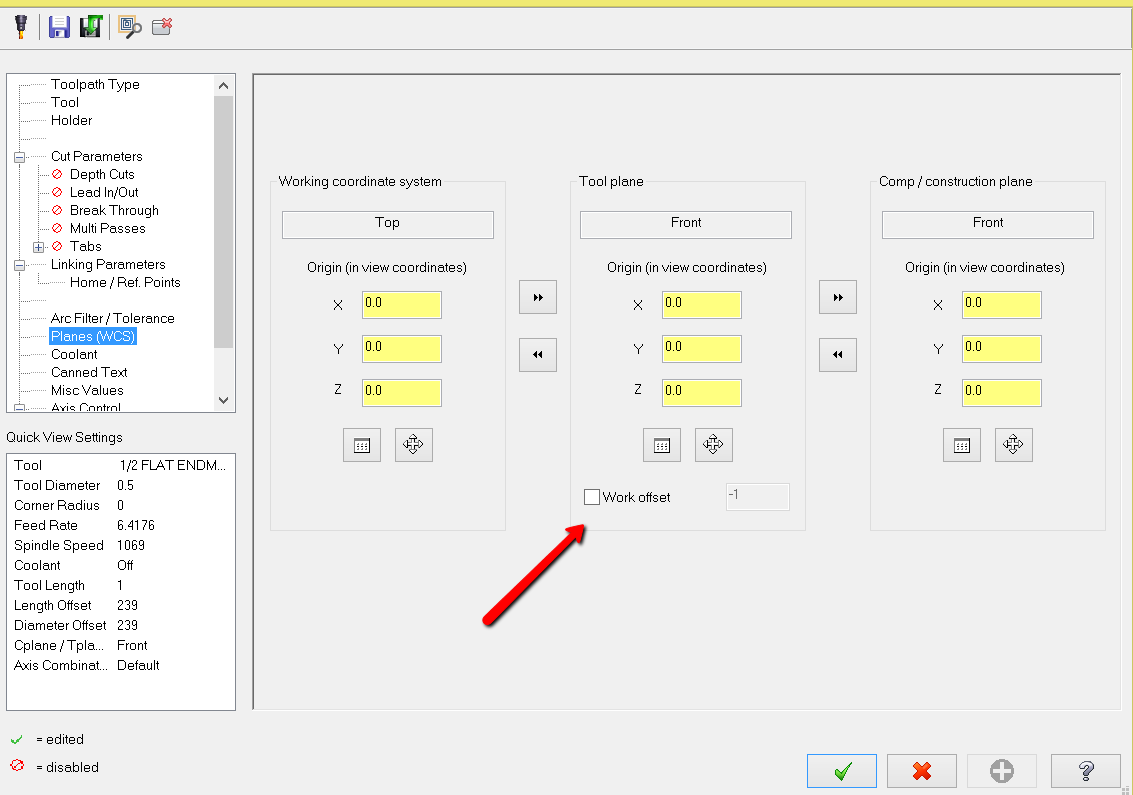
it should post out the the work offset for each tool....try downloading the latest version here... http://www.emastercam.com/board/files/category/5-post-processors/
-
Check to make sure your work offset is on... either that or make sure that lock on first WCS is not on in the MISC values
-
Selected tools from library dont have proper S&F
Chris Bloedorn replied to StoneyNH's topic in Industrial Forum
OR- it could be that you simply need to right click on the tool and re-initialize feeds and speeds.....HTH -
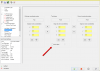
Try switch it to '3 axis' in the rotary axis control... Use 3-axis to rotate the part while the tool axis stays parallel to the axis of rotation. Also called polar conversion, this replaces linear motion in X, Y, or Z with rotary motion. For example, if this is enabled about the Y axis, instead of the tool moving linearly in Y, the part will rotate to the Y-axis position. This is typically used to machine a toolpath on a face of a part.
-
If you set your path to 'enter at middle of first wall' it wont do the weird move in the corner. (if thats the problem you are talking about?) The backplot flip can be fixed by going into the backplot options and turning off 'simulate rotary axis' HTH
-
Having the same problem....any thoughts out there....
-
http://www.inhousesolutions.com/2014/07/mastercam-cutting-a-big-chamfer/
-
Check out emastercam's store for a complete listing of available training manuals... http://www.emastercam.com/board/store/category/131-mastercam-x7/
-
That is an extra add-on to Mastercam. Contact your reseller.....
-
Open up the verisurf preferences and look under the general tab....you can turn on toolpath tabs near the bottom of that page...
-
Turn off arc filter specifically for Haas -- seems to work the best
-
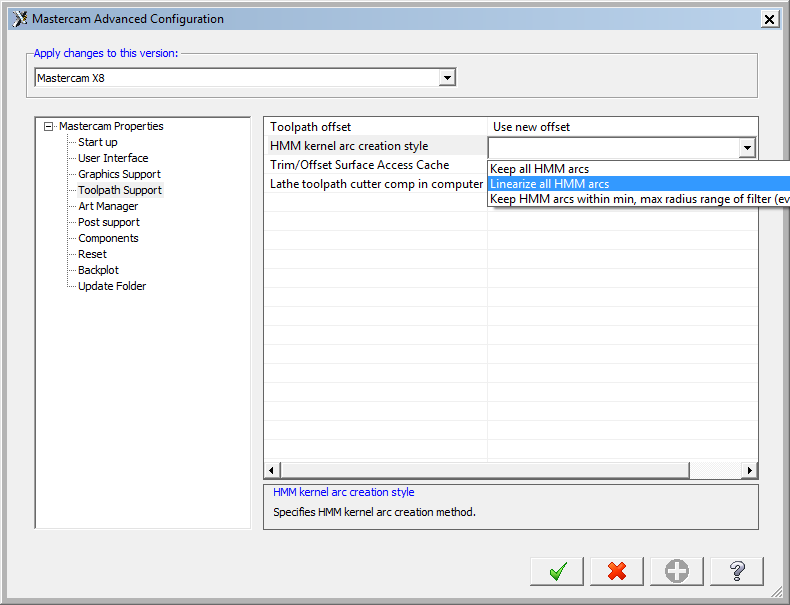
Turn off your arc filter and linearize arc in the advanced configuration
-
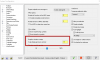
Go in your 'Device Manager' and turn off your FIFO buffer for that port...
-
You should be able to get your Renishaw contact to give you a copy of all the Macro's to load on your machine. With each new version of P+ you will likely need to do this to make sure nothing has changed....
-
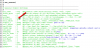
Under the 'NC functions' check to see if you have 'Auto insert spaces' active.....
-
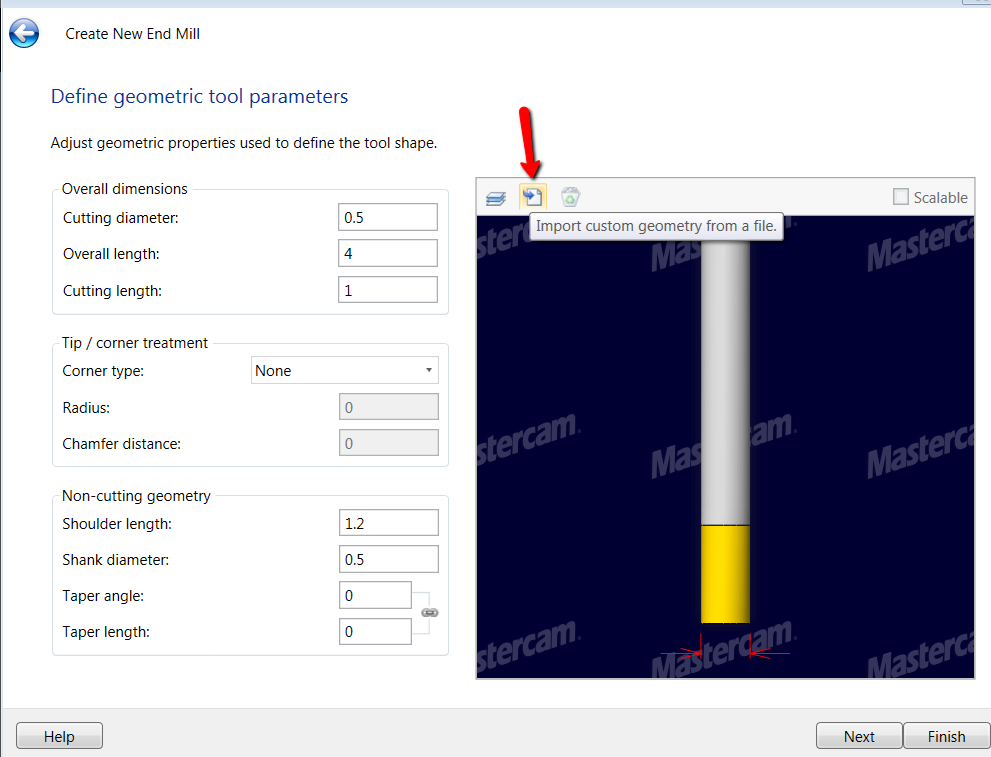
If you right click to create new tool, you can use the new tool manager to import DXF files from any manufacturer that uses the right ISO standard.
-
Maybe try to save your stl with a looser stock resolution. Not sure that will help but worth a try?
-
Make sure the 'stock view' is still in TOP. If you've changed the view it cause problems....
-
Look in 'create' - 'bounding box'......see if there is added stock there under expand?
-
Maybe trying using morph between 2 curves. A similar part was posted by someone else and I had to rebuild the groove surfaces to get a decent toolpath. The surfaces overlapped and where generally problematic.
-
O-RING1.MCX-7 Maybe you can try curve 5 axis...
-
You can also download MeshLab. This is freeware that can help reduce the size of your STL file. http://meshlab.sourceforge.net/